Mastering Photo Color Correction: Simple Steps for Flawless Photos
Have you ever snapped what felt like the perfect photo, only to find it looked dull, off-tone, or just didn’t capture the moment the way you remembered? Many images require a bit of fine-tuning to shine truly. In this article, I’ll guide you through everything you need to know about how to color correct images effectively. We’ll start by breaking down what color correction is and how it differs from color grading. Then, I’ll introduce you to two easy-to-use tools, Picwand AI Photo Restoration and PhotoGlory, that make the editing process smooth even if you’re not a pro. And finally, I’ll share some practical tips for perfecting tone and color that can make all the difference in your photos. So if you’ve ever wanted your images to look more vibrant, balanced, and true-to-life, you’re in the right place. Let’s dive into the world of color correction together!
Contents:
Part 1. What Does Color Correct Images Mean
Alright, let’s start with the basics. What exactly does it mean to color correct images? You're not alone if you’ve heard people mention photo color correction and color grading in the same breath. These two terms are related, but they’re not the same thing.
Colour correction in photography is all about adjusting the colors in your image to make them look as natural and accurate as possible. The same thing to consider when adjusting exposure, contrast, white balance, and any unwanted color cast that makes your image appear too warm or too cool. In there, you’ll get the impression of creating a photo that is quite realistic and well-balanced. It is when the creative aspect steps in: the color grading. It is because adding a certain mood or style through color grading can significantly enhance the artistic appeal of your image. The same goes for warm vintage vibes, moody blues, or a cinematic tone. These folksters prioritize artistic flair over accuracy.
Therefore, color grading is about giving a picture a creative look, whereas color correction is about making a picture look right. And believe me when I say that before you start styling, you must correct the color of the photo.
Part 2: How to Correct Color Images
Now that you know what color correction is, let’s discuss how to do it. Don’t worry, you don’t need to be an expert photo editor to perfect your photos. With the right tools, color correction photo tasks can be remarkably easy and even enjoyable. It is where you have the resources at your disposal to quickly and simply get the outcomes you desire. Take a look at a few notable standout options you can try.
Method 1. Picwand AI Restoration (Online tool)
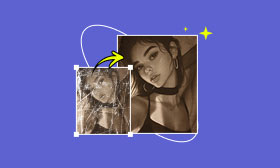
If you’re new to editing tools or the range of products, use them. Well, in that case, Picwand AI Photo Restoration is a smart, web-based tool that can handle everything from repairing damaged photos to enhancing color, all in just a few clicks. One of its standout features? Great for colourising the past, bringing monochromatic pictures back to life with a rich, realistic colour palette.
Key Features
• Photos color correction and enhancement with AI
• Old photos automatically get colored.
• Restoration through a single click, for faded or damaged photos
• Simple, easy-to-use interface
• There is no need to download the tool as it is web-based.
Steps to Use Picwand AI Restoration
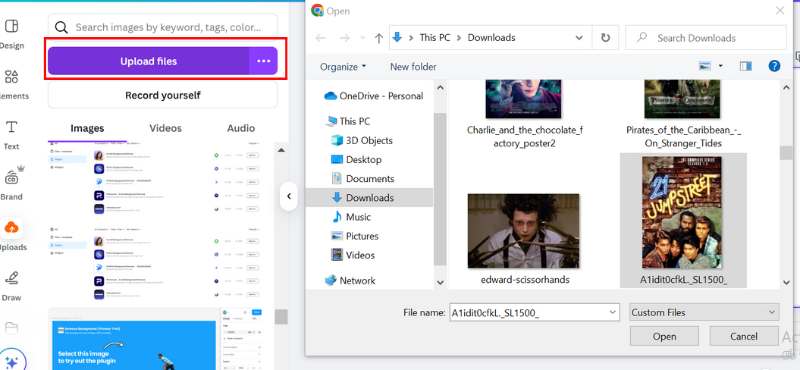
Step 1. Go to the Picwand AI Photo Restoration website and upload the photo you want to correct or restore.
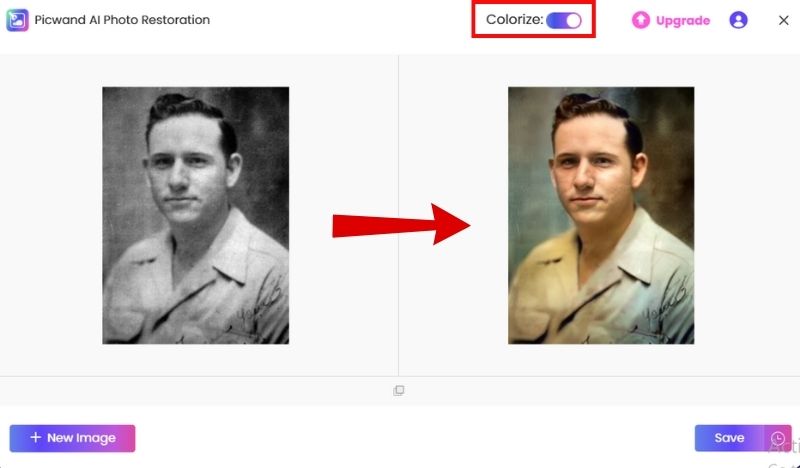
Step 2. Please be aware that while Picwand AI Restoration initializes your photo, you will have to wait a few seconds. Click the Colorize function to bring your photo to life with vibrant colors.
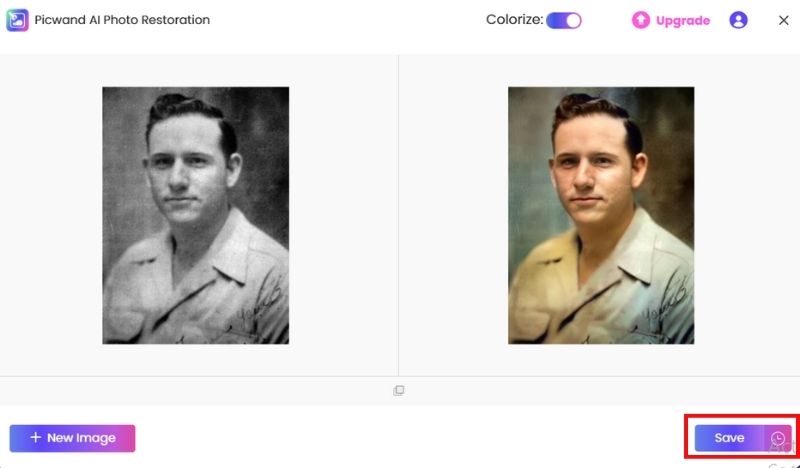
Step 3. Preview and download your color-corrected or colorized image by clicking the Save button.
Verdict
If you’re looking for a hassle-free way to handle photo color correction or the colourisation of old photos, Picwand AI is a solid choice. It’s best for users who want great results without the technical learning curve.
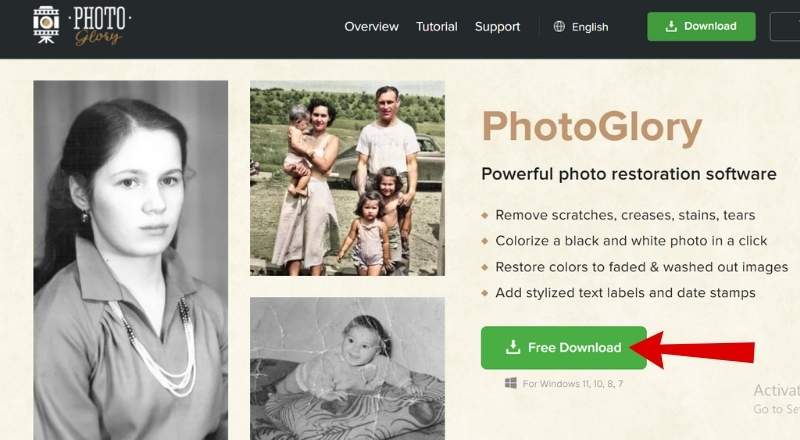
Method 2. Photoglory
PhotoGlory is a good desktop tool to consider if you’re someone who works offline and wants a bit more control over making edits. It’s marketed for restoration work on aging photographs, whether faded, scratched, missing color, or a color-correct image for automatic or manual precision.
Key Features
• sophisticated tools for editing and repairing old photographs.
• One-click colorization and manual color correction options
• Tools for removing scratches, tears, and other imperfections
• Great for high-resolution restoration work
• Works offline, no internet required once installed.
Step 1. Download and install PhotoGlory on your computer. Open the app and load your old or faded photo.
Step 2. Click the Colorize the Picture option for instant color restoration. For more control, use the Manual Correction tools to adjust contrast, brightness, and color tones.
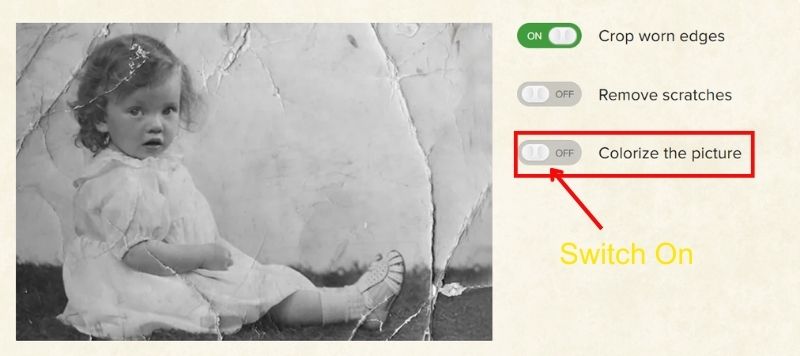
Step 3. Save or export the fully restored image.
Verdict
PhotoGlory is ideal if you want more flexibility and control while working on vintage photos. It’s especially great when you need to enter the details manually to match the original tones more accurately.
Part 3. Best Practices for Tone and Color Correction
After we’ve gone through some excellent tools to help you diagnose and improve your images, let’s discuss a few best practices for image color correction. These can help tremendously, especially when getting into photograph colorization.
1. You Should Always Begin with a Good Scan
For all analog users, if you're using a physical picture, be sure to scan it at a high resolution. The more detail you have in your base image, the better your tones and colors will be when you adjust them.
2. Balance the Exposure First
Before jumping into colors, fix the brightness and contrast. Adjusting the exposure helps establish a solid foundation for accurate color tones, preventing overly flat or overly blown-out results.
3. Work with Natural Skin Tones
If there are people in the photo, pay special attention to their skin tones. Use references, especially for photo colorization, as needed to achieve realistic and natural resu
4. Don’t Overdo the Saturation
While you crank up the vibrancy, subdued adjustments often appear more polished and professional. Less is indeed more when it comes to color correction.
5. Use Layers (If Available)
If you're using tools like Photoshop, utilize layers to enhance your workflow. That means you can make adjustments to individual sections without affecting the rest of the photo, which is helpful when working on colourisation of a detailed image.
Part 4. FAQs about Photo Color Correction
What’s the best software for beginners to color correct images?
Picwand AI Restoration and PhotoGlory are great for beginners. They’re user-friendly and don’t require much technical knowledge to get professional-looking results.
Can I color correct old black-and-white photos?
Yes, and this is often referred to as photograph colorization. You can use AI-powered online photo colorizer tools like Picwand AI to add realistic color to old photos with just a few clicks.
Does photo color correction affect image quality?
Not if done correctly. Most tools make non-destructive edits, meaning they preserve the original image. Just avoid over-editing, as it can lead to unnatural tones or a loss of detail.
Conclusion
So, now that you’ve walked through what color correction means, the difference between correction and grading, and how to do it using tools like Picwand AI and PhotoGlory, you’ve got everything you need to make your images pop. Understanding how to correct color gives your pictures a polished, professional look. Keep in mind that proper color correction is about striking a balance and highlighting the inherent beauty of your image, rather than relying on filters or over-editing. Anyone can do it with a little practice and the appropriate equipment. You can do this!

AI Picwand - Anyone Can be A Magician
Get Started for Free