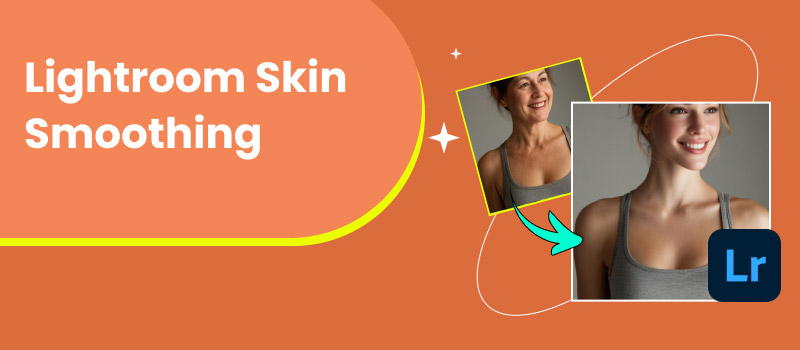
Master Lightroom Skin Smoothing: Tips, Steps, and the Best Alternative
In portrait photography, even the most appealing image can create tension in exposing small flaws, even ones you don’t want to see, like an uneven skin tone, blemishes, or aggressive shadows. The new Lightroom skin smoothing is for photographers and editors. It's not about making skin unrealistic and plastic. It's all about softening some of those details to keep the focus in the beauty of the subject. In this article, we will walk you through everything you need to know along the way; from what Lightroom skin smoothing does, to the process of actually doing it, to an alternative that is an AI based tool that makes this work even quicker. Overall, you’ll know exactly how to take your portraits to the next level without losing their authentic look.
Contents:
Part 1. What is Lightroom Skin Smoothing
Lightroom skin smoothing produces a clean, new appearance for your portraits without spending hours on an intense retouching session. Skin smoothing does not make the portraits look fake or plastic, but simply evens out skin tones, removes blemishes, and smooths out roughness- all while keeping the original natural appearance. It is a freshening up, not a masking of the person's face.
When you use smooth skin in Lightroom, you are using simple tools like adjustment brushes or masking options, followed by sliders using the values of texture, clarity, and sharpness. The best part of this type of feature is that you are free to do what you want. You can be very subtle for a natural look or push a bit more for that professionally polished feel. This technique is one of those simple tricks to make your portrait look infinitely better without looking too done.
Part 2. How to Use Lightroom Skin Smoothing
Now that you have the inside track on skin smoothing in Lightroom, let's use it. The best part? You don't have to be a pro. Lightroom is super easy to use for beginners. Whether you want a soft, natural glow or a polished & airbrushed look, it is quite easy to do. Below, I’ll walk you through how to smooth skin in Lightroom step by step so you can achieve smooth, flattering portraits without losing that natural charm.
Step 1. Open Lightroom and import the portrait you want to edit.
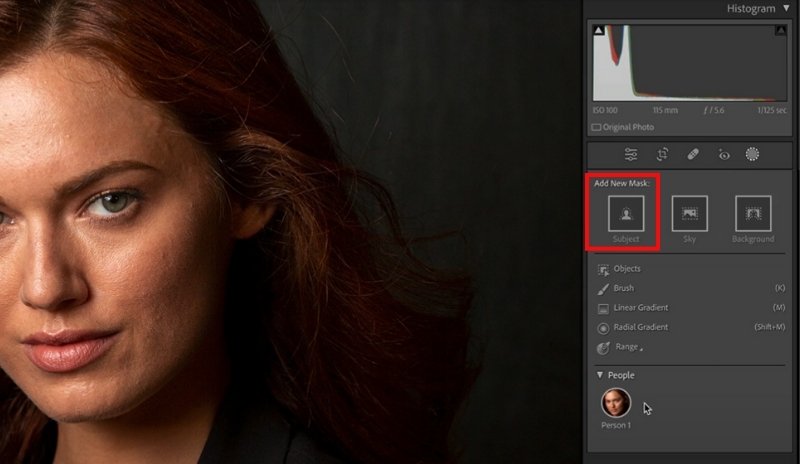
Step 2. Head over to the Develop Module to start editing. On the right panel, click the Masking tool (the circle with dotted lines).
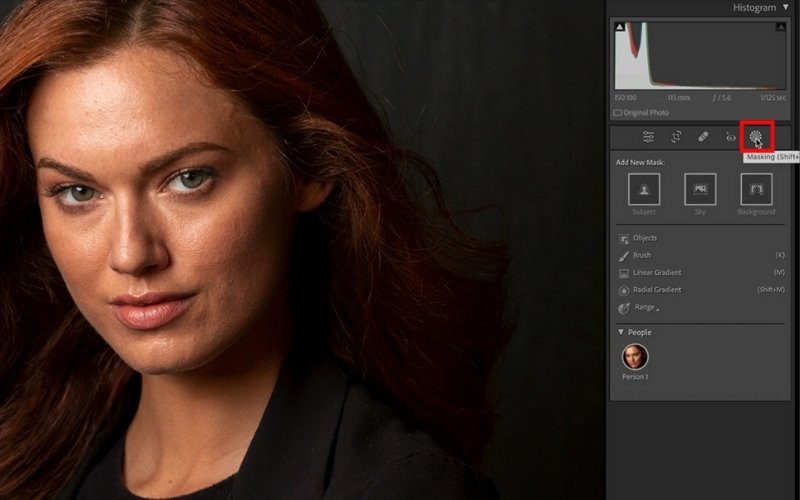
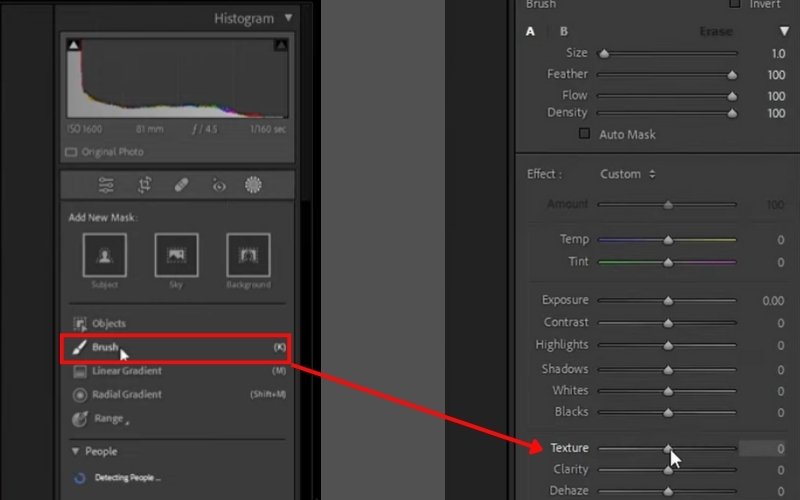
Step 3. Choose Brush or Subject. If you choose Subject, Lightroom will automatically detect the person in the photo. It is super handy for portraits.
Step 4. If you’re using the brush, carefully paint over the areas of skin you’d like to smooth, usually the face, neck, or arms. Adjust the brush size and feathering to cover skin evenly without affecting the background.
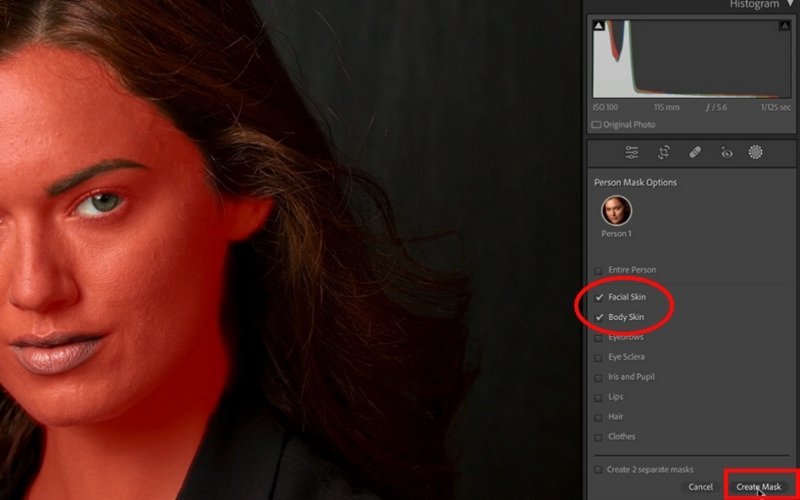
Step 5. Click on People, and it will display the parts of the body that you want to mask. Check on the face Skin and body Skin and click Create a Mask.
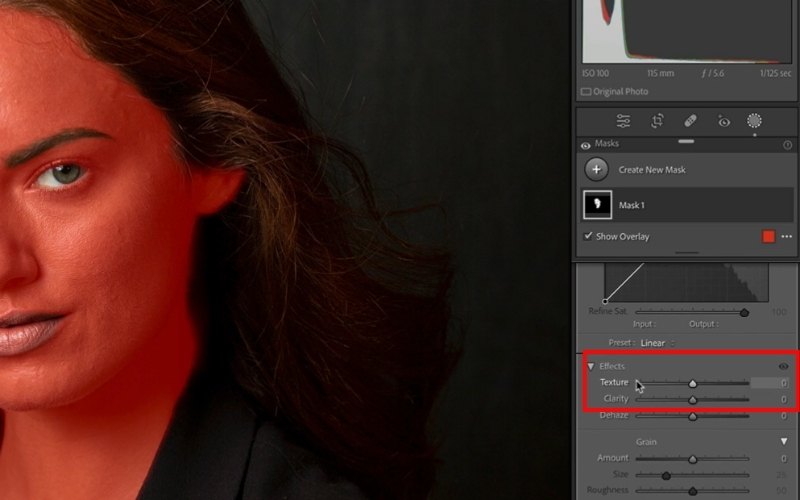
Step 6. In the adjustments panel, lower the Texture and Clarity sliders slightly. This step is where the magic happens. It helps soften skin in Lightroom by removing harsh details without erasing all the natural features.
Step 7. Lower the Sharpness just a bit if the skin still looks too crisp. Be careful not to overdo it, or the skin may look blurred instead of smooth. (optional)
Step 8. If needed, slightly adjust Exposure or Warmth to keep the skin tone looking natural and flattering.
Step 9. Toggle the backslash key () to compare your before and after edits. If it looks too airbrushed, pull back the sliders until it feels more natural.
Step 10. Once satisfied, export your photo and share your polished portrait!
The fantastic aspect of how to smooth skin in Lightroom is how flexible it is. How dramatic or subtle you want to make it is up to you. You’re editing for social media, a professional portfolio, or personal memories. This method gives you clean, glowing results in just a few clicks.
Part 3. Best Alternative to Lightroom Skin Smoothing
Although the skin smoothing function in Lightroom can be helpful, many people just do not have the time or patience to utilize editing software fully. Instead, if you would rather not mess with all of the complicated sliders and brushes, Picwand AI Skin Retouch is a great online tool to use that can help you achieve smooth and natural-looking skin in just a few clicks. If you want something quick, simple, and that does not look overdone, this is your new best friend.
Main Features
• Smooths skin automatically without over-editing.
• Detects blemishes, fine lines, and uneven tones instantly.
• No need to download heavy software. It works directly in your browser.
• Adjust the intensity so you can keep things natural or go for a more polished look.
• Perfect for people who don’t want to spend hours editing.
Here are the steps to skin retouch using Picwand AI Skin Retouch
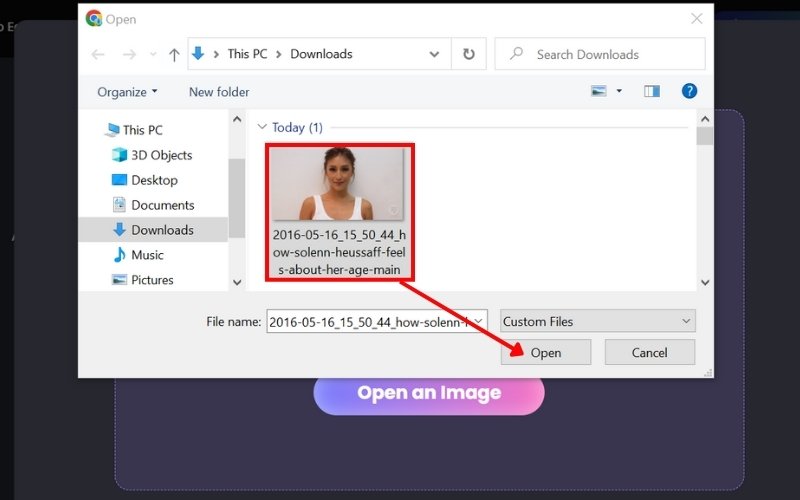
Step 1. Open your browser and go to the Picwand AI Skin Retouch tool and add your photo to the Upload button.
Step 2. Let the AI scan your image automatically, and it will smooth the skin and enhance your photo. To use it, click Apply.
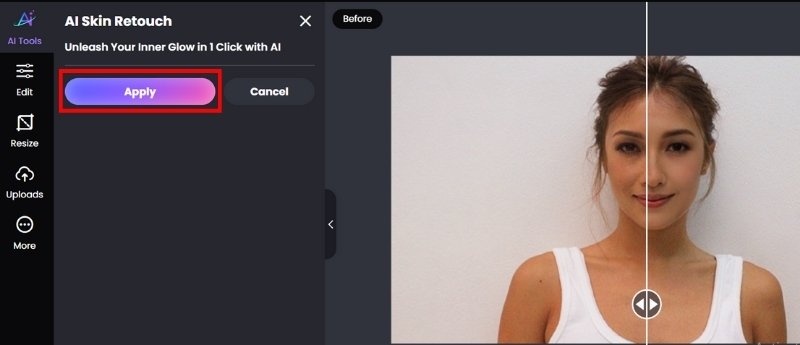
Step 3. Adjust the photo if needed to keep the look natural. Preview the results, then hit Download to save your new retouched photo.

Why choose Picwand
• Very easy to use, even for beginners
• No software installation required
• Natural-looking edits with adjustable intensity
• Saves time compared to manual Lightroom editing
Picwand AI Skin Retouch is a great option if you want seamless portraits but don't want to go through the headache of learning all of the tools in Lightroom. It's fast, accurate, and not overly airbrushed, allowing skin to look fresh and natural.
Part 4. FAQs about Lightroom Skin Smoothing
Does Lightroom have a skin smoothing tool?
Yes! As a skin-smoothing app, Lightroom has skin smoothing options under the Masking panel, specifically using the Skin Soften preset or manual adjustments with Texture, Clarity, and Noise Reduction.
Can Lightroom remove pimples or blemishes?
Yes, but not automatically. You’ll need to use the Healing Brush tool to click and remove spots, pimples, or blemishes one by one. To improve your profile to next level, you can also remove noise in Lightroom.
Is Lightroom better than Photoshop for skin retouching?
While Photoshop is more sophisticated for intricate retouching, such as reshaping, removing scars, or fine-tuning skin texture, Lightroom is quicker and simpler for simple skin smoothing.
Conclusion
So there you have it, it is easier to make a portrait look smooth. With Lightroom, you have all the tools to smooth skin while maintaining a natural appearance. Once you understand how to smooth skin in Lightroom. If you'd rather skip the sliders and steps altogether, Picwand AI Skin Retouch is a hassle-free and accurate way to get the results you need in a matter of seconds. The greatest part about both methods is that you have options for how you proceed. Whether you prefer to delve into the details and adjust every setting, or if you are more of a set-and-forget person, you will be left with images that appear polished and professional.
AI Picwand - Anyone Can be A Magician
Get Started for Free