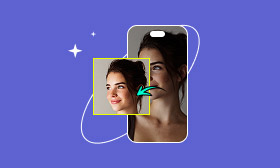
GIMP Skin Retouching Tutorial: Remove Imperfections Easily
The GNU Image Manipulation Program, commonly referred to as GIMP, is a powerful software application designed for photo editing and image manipulation. Over the years, it has become popular as one of the best free alternatives to Photoshop. It offers various professional-grade features at a cost-effective price. Almost everything you would want to do with your photos can be performed within GIMP. One of the most sought-after editing techniques today is skin retouching. The good news is, you can achieve this directly in GIMP. If you’ve ever wondered how to do skin retouching in GIMP, you’re in the right place. This post will guide you through the complete process, demonstrating how to utilize tools like the Healing Tool. By the end, you’ll learn how to remove skin imperfections all without expensive software.
Contents:
Part 1. How to Use GIMP Skin Retouching
The GNU Image Manipulation Program, known by many as GIMP, is a highly powerful image manipulation software. It is one of the most popular free alternatives to Photoshop skin retouching. GIMP offers many of the same tools for tasks like skin retouching at no cost. It can help remove blemishes, acne, scars, and even wrinkles to achieve smooth, natural-looking skin. It makes this process easy with its Healing Tool, which blends imperfections with the surrounding skin. Learning this technique can greatly improve the quality of your images.
Here’s how to photo retouch skin in GIMP for free:
Step 1: Open GIMP on your system, proceed to the File tab, and select Open to add an image. Alternatively, you can right-click the file from the local drive, click Open With, and choose GIMP.

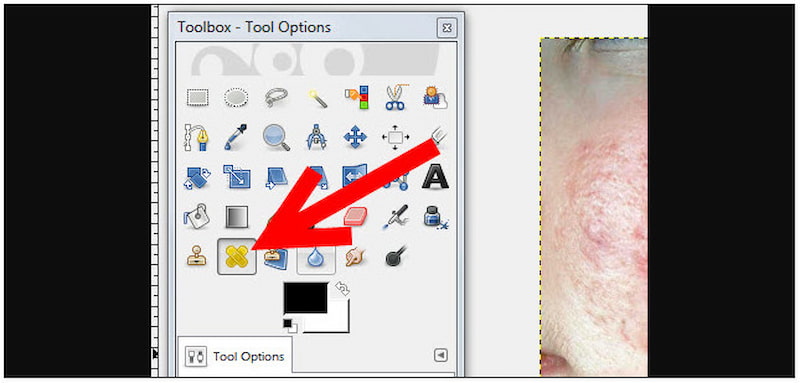
Step 2: In the Toolbox, click the Healing Tool, represented by two yellow bandages crossed over each other. This will remove blemishes and blend them naturally with the surrounding skin.
Step 3: Hold down the Ctrl/Cmd key and click on a clean area of skin near the blemish. This sampled area will serve as the source for the healing process. Release it after selecting the source.
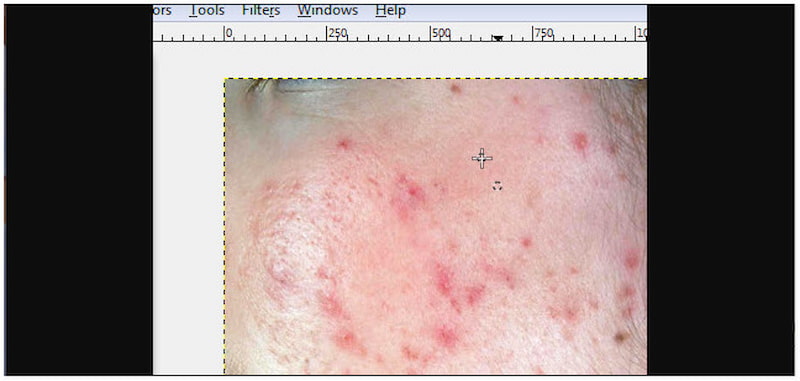
Step 4: MNow, click directly on the blemish or imperfection you want to remove. GIMP will automatically replace it with the sampled skin tone, blending the texture and color smoothly.
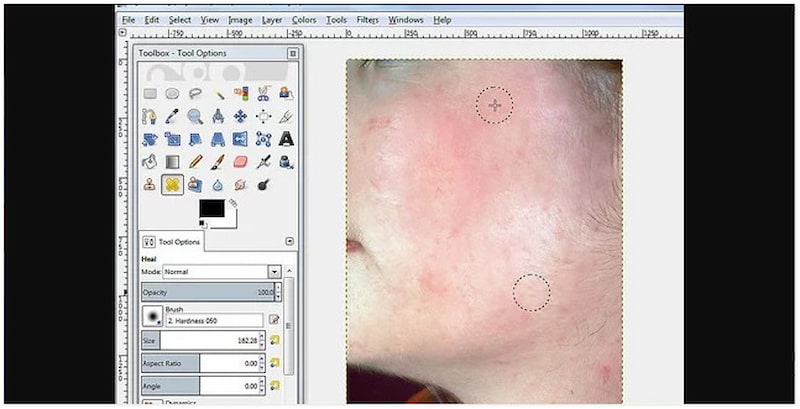
Creative Tip: Repeat this process for each blemish, pimple, or scar you want to remove. You can also change the brush size to suit larger or smaller areas, depending on the size of the blemish. Zoom in for precision editing and zoom out to check if the skin looks natural.
GIMP retouching skin lets you quickly remove blemishes and achieve a smoother, polished look. It ensures the resulting file will not make the skin appear overly artificial. With patience and practice, you’ll be able to retouch portraits naturally while maintaining realistic features.
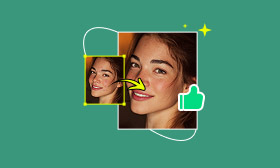
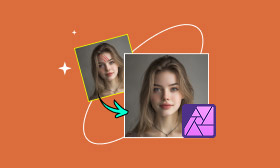
Part 2. How to Retouch Skin With an Easier Way
With tools like the Healing Tool, you can manually retouch skin in GIMP. It can manually remove blemishes, pimples, and other skin imperfections accurately. However, this process requires time, patience, and skill to achieve natural-looking results. If you’re new to photo editing, there’s a better way to touch up skin. Picwand AI Skin Retouch uses AI-powered high-frequency layering technology to detect and correct skin imperfections. Unlike GIMP, it works in one click, saving you from the trial-and-error process of manual editing. Once it analyzes the face, it will instantly remove blemishes, freckles, acne, and other imperfections.
Why Choose Picwand AI Skin Retouch:
• Retouching is quick, typically taking only three to five seconds.
• Preserves texture, facial details, and pores to maintain the subject's realism.
• AI-powered high-frequency layering technology avoids overly artificial appearance.
• Automatically detects skin imperfections and retouches them with just a single click.
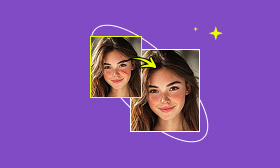
Here’s how to retouch skin in GIMP alternative:
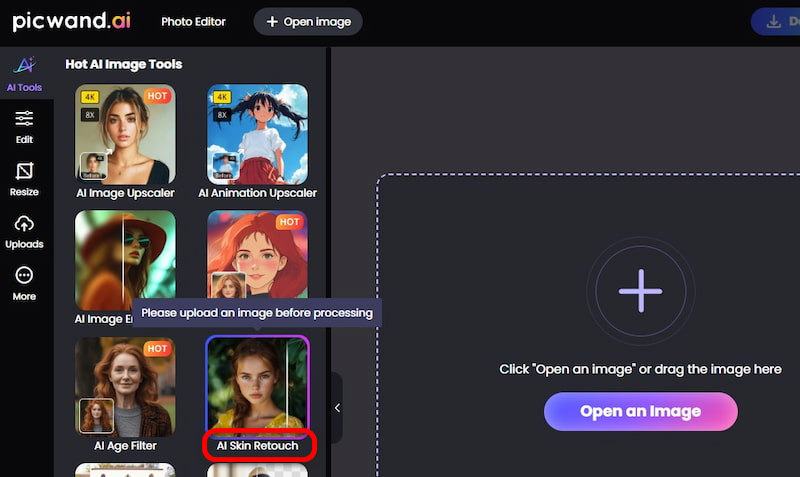
Step 1: Open your browser and navigate to the official page of Picwand AI Skin Retouch through the provided link. On the homepage, click Upload a Photo to import the photo you want to retouch. Please note that using a clear image without heavy filters is recommended to achieve realistic results.
Step 2: Once uploaded, Picwand automatically scans the face and skin. No need to manually select areas as the software does it for you. The AI will detect imperfections and instantly smooth the skin, remove blemishes, and enhance skin tone.
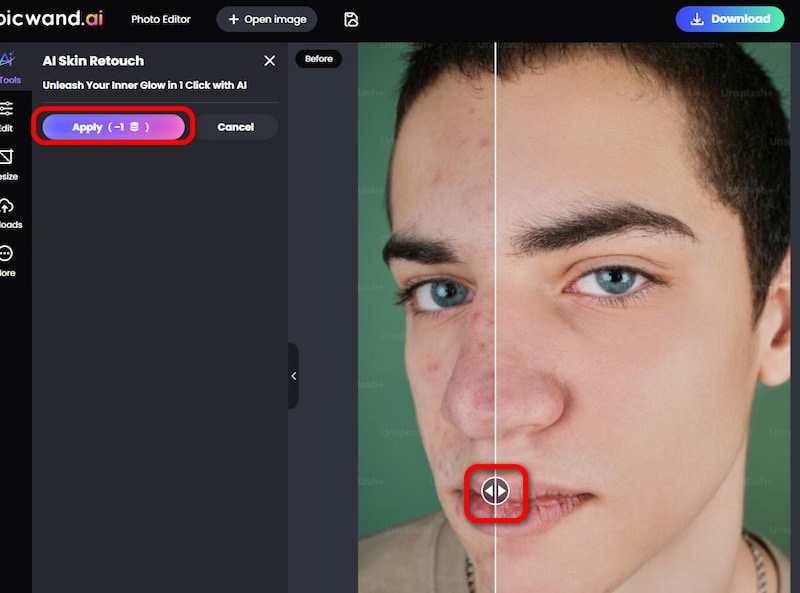
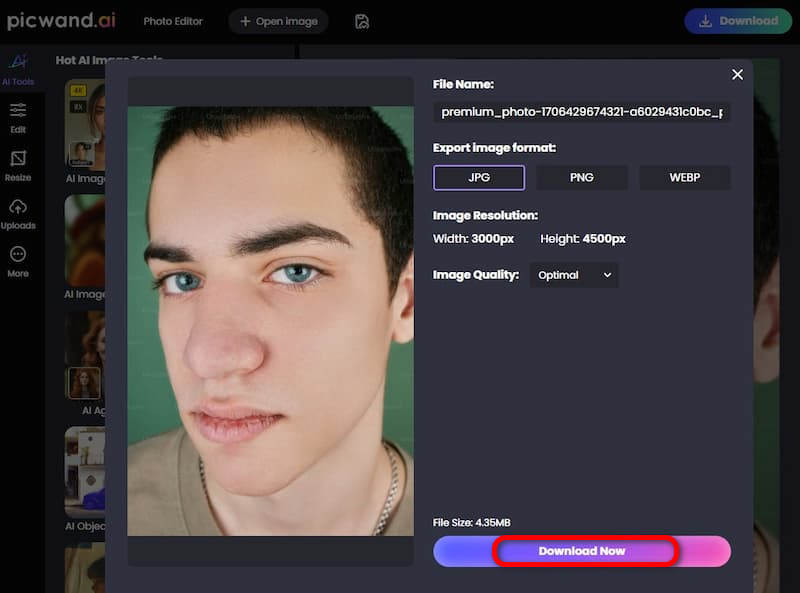
Step 3: You can preview the before-and-after effect to compare changes. If you’re satisfied with the preview, click Download to save the retouched version. In the pop-up window, select your preferred output format and quality, and then click Download Now to confirm.
GIMP skin retouching is fantastic for manual editing. However, it is time-consuming for beginners. Fortunately, Picwand AI Skin Retouch offers an effortless one-click solution. This powerful, smooth skin tool produces natural and professional results in just 3 to 5 seconds.
Part 3. FAQs about Retouching Skin in GIMP
Which tool in GIMP would you use for photo retouching?
For photo retouching in GIMP, the two most common tools are the Healing Tool and the Clone Tool. The Healing Tool is best for removing blemishes, pimples, or scars. It seamlessly blends imperfections with the surrounding skin, preserving texture and tone. The Clone Tool provides more manual control by allowing you to copy pixels from one area and apply them to another.
How to fix skin tone in GIMP?
First, duplicate your image layer, then adjust the Hue-Saturation sliders to correct discoloration or reduce redness. Color Balance enables you to adjust shadows, midtones, and highlights to achieve a more natural appearance. To smooth out tones, you can also use a soft brush with low opacity on a new layer.
What are the limitations of GIMP?
One notable limitation of GIMP is its lack of advanced AI-powered tools. This means tasks like skin retouching or automatic tone correction require more manual work. It is also not ideal for beginners unfamiliar with layers, masks, and brushes. For a quick solution to retouch your skin, consider using alternative tools like Picwand AI Skin Retouch.
Conclusion
Skin retouching in GIMP gives you full control over how you edit your portraits. It’s a powerful solution for those who want to delve into photo editing and refine every detail of their images. However, achieving natural results requires time, patience, and practice. If you’re looking for a faster and more effortless way to retouch skin, consider trying Picwand AI Skin Retouch. With its one-click AI-powered enhancement, you can instantly smooth skin and remove imperfections. It lets you achieve professional-quality edits without the manual work. It’s the perfect solution for anyone who wants great results in seconds.
AI Picwand - Anyone Can be A Magician
Get Started for Free