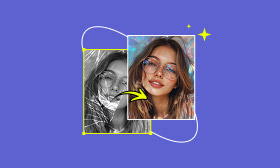
What Is and How to Use Affinity Photo Skin Retouch
When editing skin, it is best to avoid excessive retouching. Many people rely heavily on the clone or smoothing tools to remove spots and imperfections. However, overusing these methods can damage the skin’s natural texture and result in an unnatural appearance. Fortunately, Affinity Photo offers a powerful feature called Frequency Separation. It allows you to retouch skin while maintaining its natural details, helping you avoid the plastic effect. Affinity Photo is a professional-grade photo editing software used for retouching, color correction, and creative photo manipulation. In this post, we’ll teach you how to easily retouch skin in Affinity Photo using the Frequency Separation method. By the end, you’ll know how to smooth skin, correct blemishes, and balance tones without losing texture. We will also introduce an alternative solution that makes the process even easier through automated AI skin retouching.
Contents:
Part 1. How to Use Affinity Photo to Retouch Skin
Affinity Photo skin retouch provides professional tools to achieve a natural yet polished result. Through Frequency Separation, you can smooth skin without losing detail. This technique divides an image into two layers: one for texture and one for color and tone. It corrects blemishes, smooths uneven tones, and refines skin while preserving natural pores and fine details.
Here’s how to retouch skin using Affinity Photo:
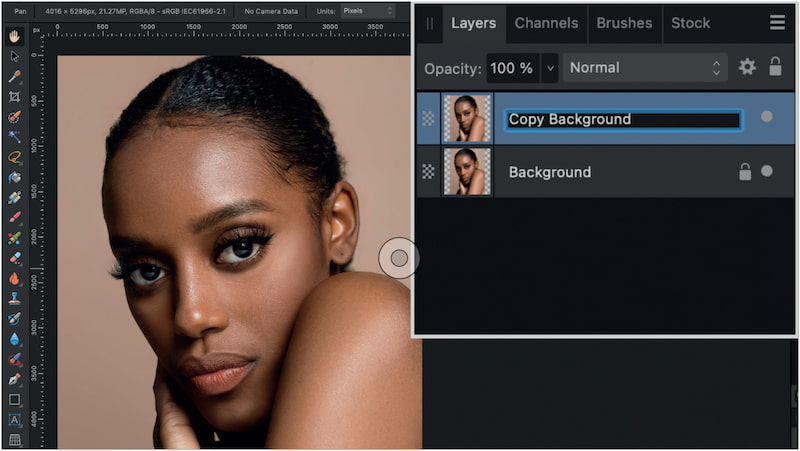
Step 1: Begin by duplicating the original background layer to keep track of your edits. This duplicate helps you compare the before and after versions. Also, it provides a safety net in case you make changes that are too strong.
Step 2: This will split your image into two parts. You'll see the High Frequency on the right preview panel and the Low Frequency on the left. Use the Radius slider to adjust the amount of detail split between the two layers.
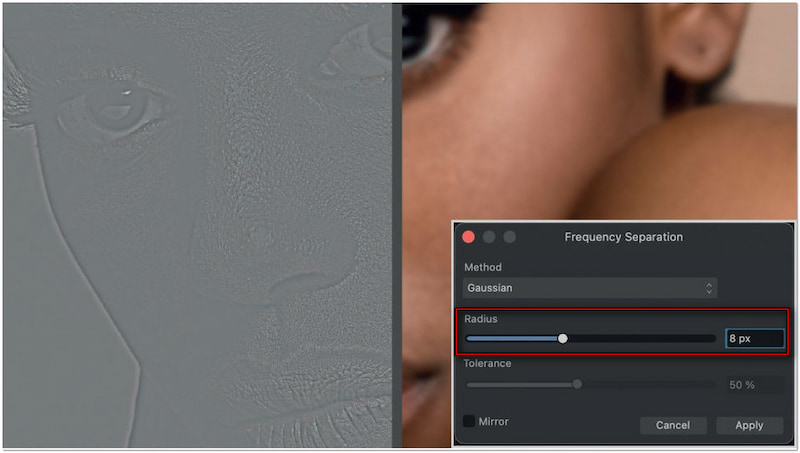
Creative Tip: Increasing the radius makes the High Frequency layer contain more structure, while the Low Frequency layer appears softer.
Step 3: After applying the filter, two new layers are automatically created (High and Low Frequency). Select the Paintbrush tool, set the color to black, and ensure that the Current Layer is selected. Carefully paint over irregular textures to remove wrinkles, blemishes, and refine skin.
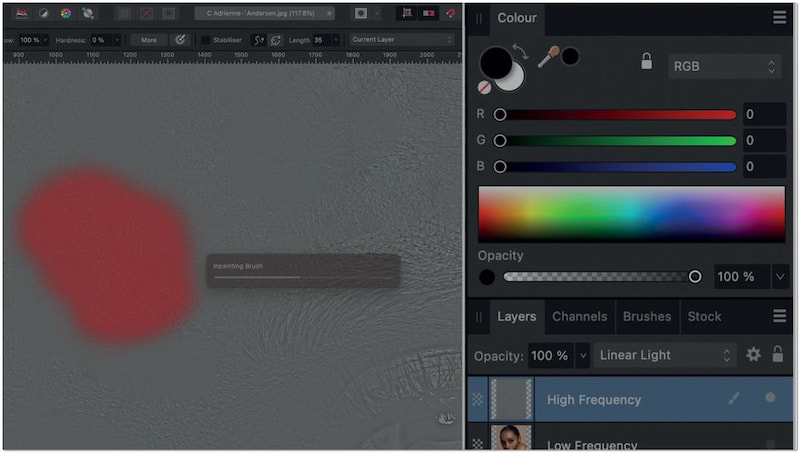
Important Note: Hide all other layers and keep only the High Frequency layer visible.
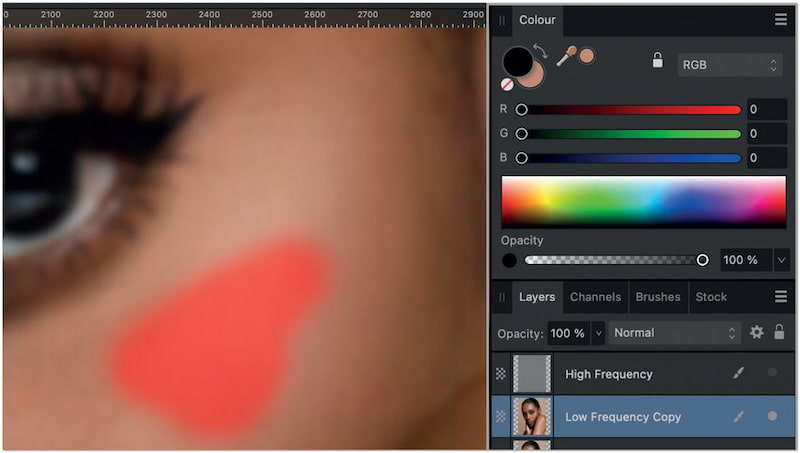
Step 4: Reactivate the Low Frequency layer’s visibility and duplicate it so you can work on a copy. Focus on uneven skin tones and color patches. Select the Paintbrush tool with a low flow, then hold Alt/Option to sample a nearby skin color. Paint gently over the areas that need smoothing.
Affinity Photo's retouching of skin using the Frequency Separation filter enables precise and natural-looking results. This method separates texture from color, letting you correct imperfections without sacrificing detail. With practice, you’ll be able to achieve smooth, radiant skin that still looks authentic.
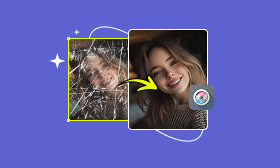
Part 2. The Best Solution to Skin Retouch
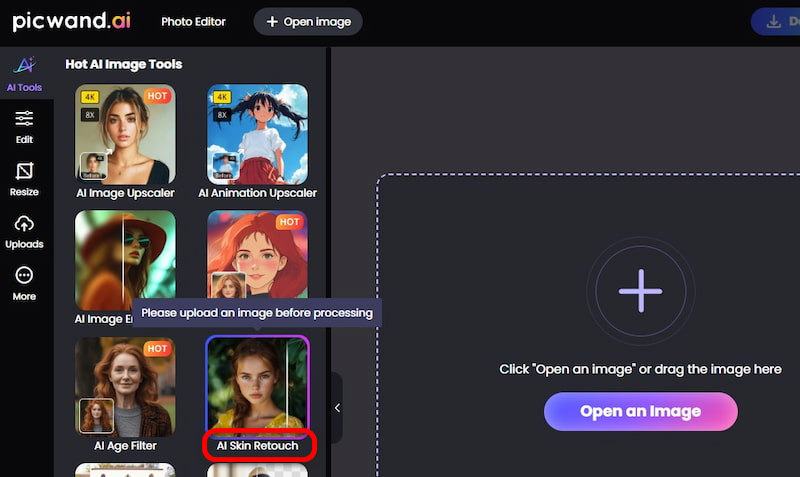
In Affinity Photo, you need to duplicate layers, apply Frequency Separation, and manually adjust tones to achieve natural results. This workflow is powerful, but it can be time-consuming and requires skill. This is where Picwand AI Skin Retouch stands out as the best solution. It is a one-click AI retouching tool accessible online. It utilizes the latest and most advanced AI technology, powered by high-frequency layering. It can deliver smoother skin without sacrificing natural skin texture. It can instantly remove imperfections, such as blemishes, acne, scars, and wrinkles. Beyond retouching skin, it also offers additional enhancements, such as teeth whitening and skin tone correction. It allows you to achieve fast, realistic, and professional results in just 3 to 5 seconds.
Why Choose Picwand AI Skin Retouch:
• One-click AI skin retouching with minimal user intervention.
• Delivers ultra-fast results, taking only 3 to 5 seconds per photo.
• Retouch skin with natural and realistic results that don't overpower the original.
• Smooth out skin, remove imperfections, and fix discoloration without layering.
Here’s how to touch up skin using Affinity Photo skin retouch alternative:
Step 1: Open a browser and reach Picwand AI Skin Retouch page through the provided link. On the main page, click Upload a Photo and choose the image you want to retouch. For optimal results, select a clear image with no heavy filters applied.
Step 2: Once uploaded, the AI automatically begins processing. In just 3 to 5 seconds, you’ll see your image with smooth skin, blemishes removed, and an improved tone. You can use the before-and-after slider to compare changes.
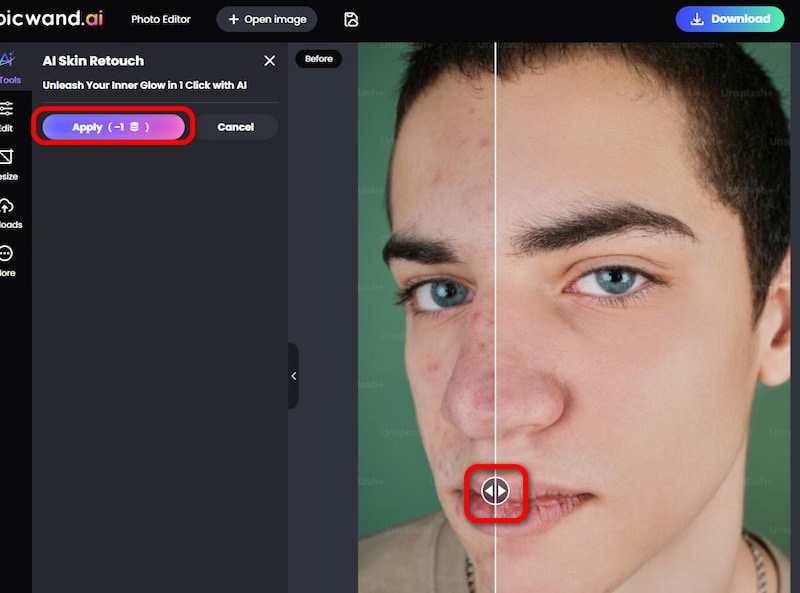
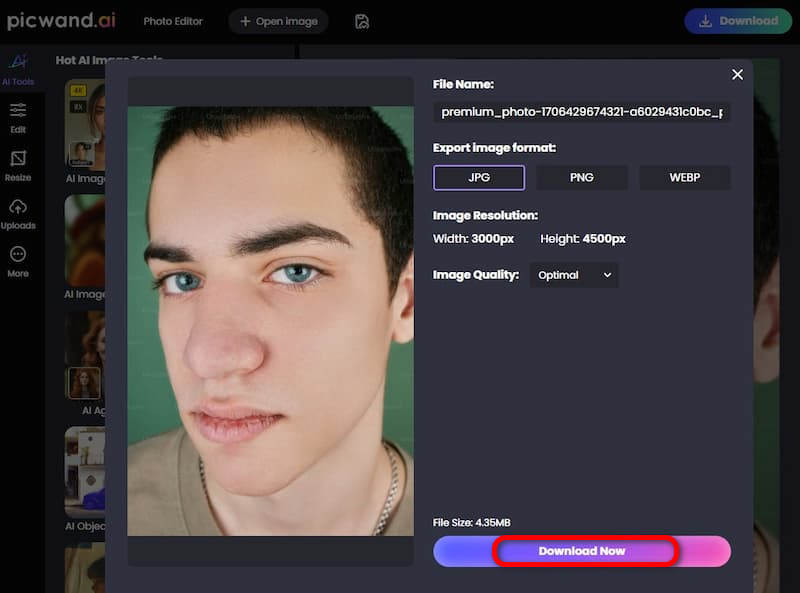
Step 3: If you are satisfied, click Apply to confirm the edits. Click Download, specify your output format, and select your preferred image quality. Finally, click Download Now to export the retouched version directly to your local drive.
Picwand AI Skin Retouch is an effective tool for touch-up editing of your skin without complex and manual processes. Beyond skin retouching, it also offers other AI-powered tools to increase image resolution, restore old photos, remove objects, and more. If you want the best solution for skin retouching, skip the manual steps and try Picwand AI Skin Retouch today.
Part 3. FAQs about Affinity Photo Skin Retouch
Is Affinity good for photo editing?
Yes, Affinity Photo is excellent for photo editing, especially for professional editors. It is packed with high-end features, including layer-based editing, frequency separation, and retouching tools. However, its advanced tools come with complexity, so beginners may find it overwhelming.
What is the best skin retouching plugin Affinity Photo?
The best skin retouching plugin for Affinity Photo largely depends on your specific needs. However, Retouch4me is one of the most recommended plugins. It is an AI-powered plugin suite designed specifically for professional skin retouching. It automatically removes blemishes, smooths the skin, and enhances tone while preserving the natural texture.
Does Affinity Photo have filters?
Yes, Affinity Photo 2 includes filters in both non-destructive and destructive forms. These filters range from blurs and distortions to lighting effects and sharpening. However, if you are looking for trendy filters such as Ghibli-inspired effects, Age filters, or Cartoon looks, Affinity does not offer them. Instead, tools like Picwand AI provide quick, modern, and stylish filter effects.
Conclusion
Skin retouch in Affinity Photo is a powerful way to refine portraits while maintaining a natural appearance. With the help of Frequency Separation, you can smooth skin, correct blemishes, and balance tones. However, mastering this technique requires time, practice, and editing skills, which can be challenging for those who are new to it. If you want an easier and faster way to achieve flawless skin, Picwand AI Skin Retouch is the perfect alternative. With its one-click AI technology, you can smooth skin, remove blemishes, and fix discoloration in just a few seconds. It’s accessible in any browser, delivers natural results, and goes beyond skin retouching with additional tools.
AI Picwand - Anyone Can be A Magician
Get Started for Free