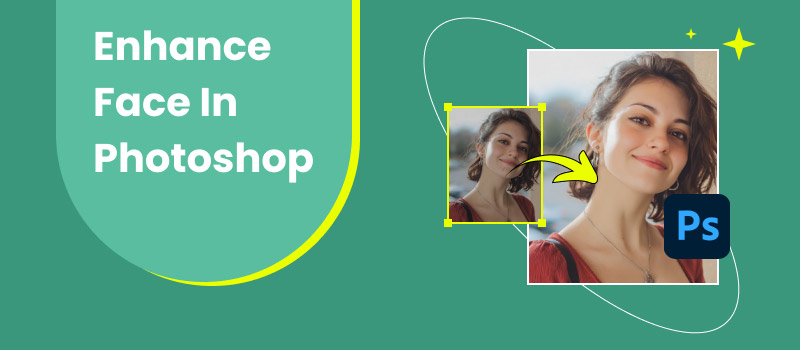
Enhance Face in Photoshop: Complete Tutorial and Smarter Alternative
Retouching portraits is about not just correcting any imperfections, but accentuating every distinct image. Whether you're editing a casual, fun selfie or an executive headshot, the right tools will make the skin look smoother, fine-tune the features, and give the overall image a polished look. In this article, we will cover how to enhance a face in Photoshop, with a focus on helpful steps that allow the user to take full control of the details. If you think that Photoshop is too advanced or too time-consuming, there is a much smarter alternative. An alternative that will allow you to retouch skin in no time! That way, you will know both the original way of using Photoshop and a modern-day shortcut to ensure you get a flawless, natural look every time.
Contents:
Part 1. How to Enhance Face in Photoshop
Photoshop is the main tool for photographers and editors for retouching portraits. You can control aspects like skin texture, in addition to light changes, to get a natural yet refined look. If you’ve ever asked how to enhance face in Photoshop, here is a detailed guide to it:
Step 1. Launch Photoshop and open the portrait you want to edit. Duplicate the original layer to work non-destructively.
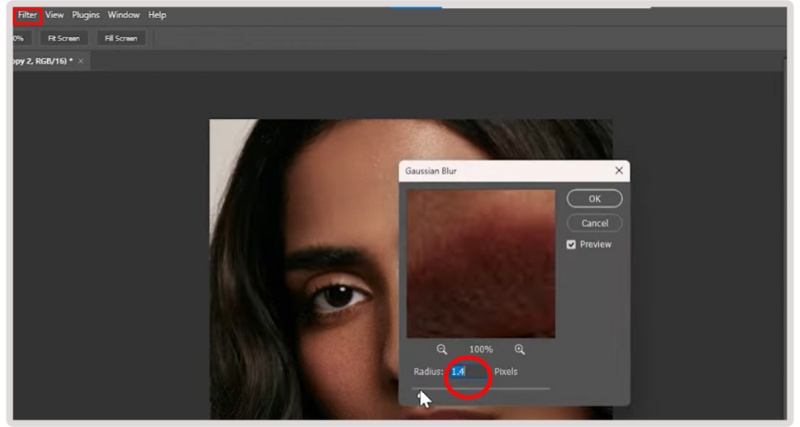
Step 2. Go to Filter, select Blur, click Gaussian Blur, and apply it to a duplicate layer. After applying a layer mask, use a gentle brush to apply smoothing to the desired areas of the skin. Keep the effect subtle to maintain a natural texture.
Step 3. Pick the Spot Healing Brush Tool to remove blemishes, spots, or unwanted marks. For more control, use the Healing Brush Tool to sample nearby skin and blend imperfections.
Step 4. Create a new adjustment layer, such as Curves or Levels, to enhance the brightness of eyes and teeth. Mask the adjustment to only affect these areas and lower the opacity for a natural, glowing effect.
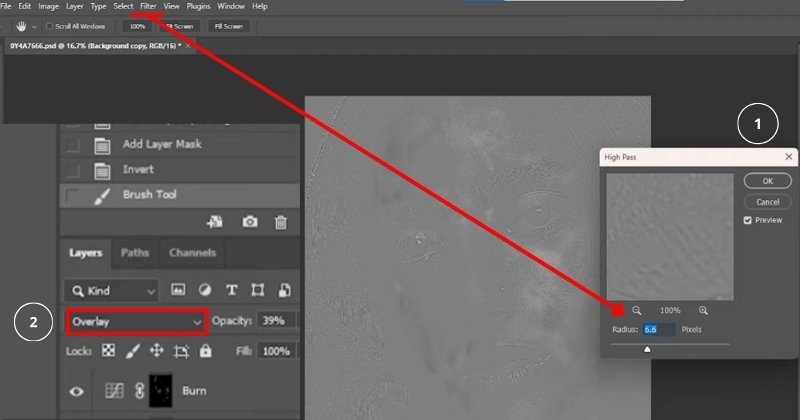
Step 5. Go to Filter, select Other, and click High Pass. Set the radius to around 2–3 pixels. Change the layer’s blending mode to Overlay to sharpen facial details, such as eyes, brows, and lips.
Step 6. Use Adjustment Layers, such as Hue/Saturation or Selective Color, to balance skin tones. It helps correct redness, dullness, or uneven tones for a more natural look.
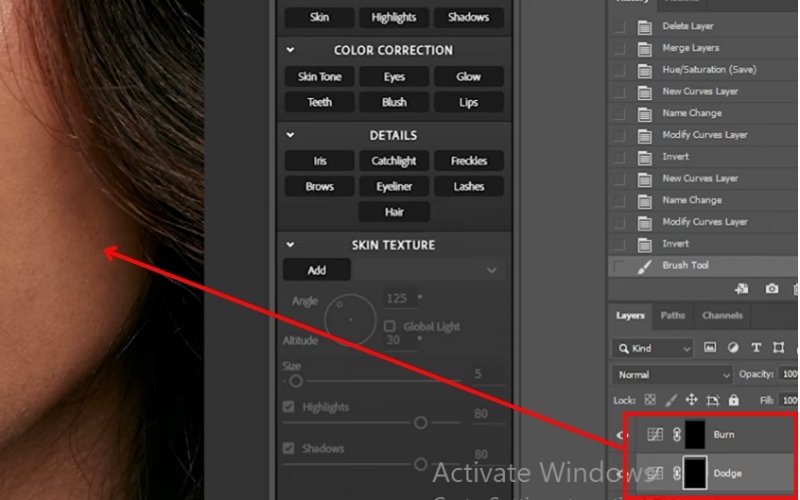
Step 7. Create a new layer set to Overlay, fill it with 50% gray, and use the Dodge Tool to lighten the image and the Burn Tool to add depth. It enhances facial contours and makes the image pop.
Verdict
Photoshop offers exceptional precision when enhancing facial characteristics, which is particularly beneficial for fine-tuning edits. The process may require time and practice, but whatever efforts you put into achieving professional-grade results will be well worth it. Learning to use Photoshop to retouch faces will create finished-looking photographs that are credible and will help your portrait stand out from the crowd. If you're looking for a quicker, beginner-friendly route, AI-driven software tools may be a way to save time while still achieving the same great results.
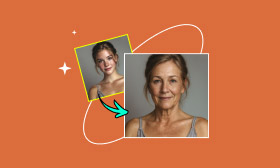
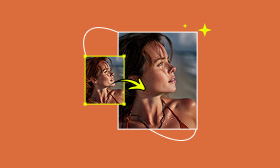
Part 2. Best Alternative to Adobe Photoshop – Picwand AI Skin Retouch
Photoshop is amazing, but it can be intimidating if you're not familiar with all the tools and layers. If you want to make quick edits to your photos without spending a lot of time figuring out what each feature does, then Picwand AI Skin Retouch is your answer! The web app is designed to simplify skin retouching, and all you have to do is upload a photo, and there's no need to be an experienced editor!
Features
• Instantly removes blemishes and smooths the skin without compromising its natural texture.
• Automatically balances skin tones and enhances details.
• No complicated settings, just upload and edit.
• No need to install heavy software.
• Apart from skin retouch, you can also adjust brightness, background, and more.
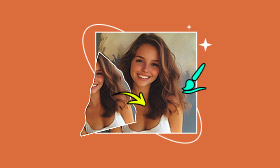
Complete Steps to Use Picwand AI Skin Retouch
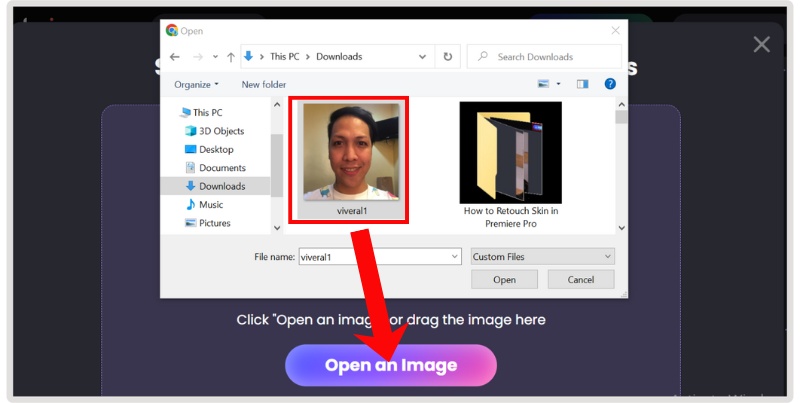
Step 1. Go to the Picwand AI Skin Retouch website and click Open an Image to upload your photo, or simply drag it into the tool.
Step 2. Let the AI process your photo, and it will automatically smooth out skin, remove blemishes, and fix tones. Once done, click Apply to proceed with the result.
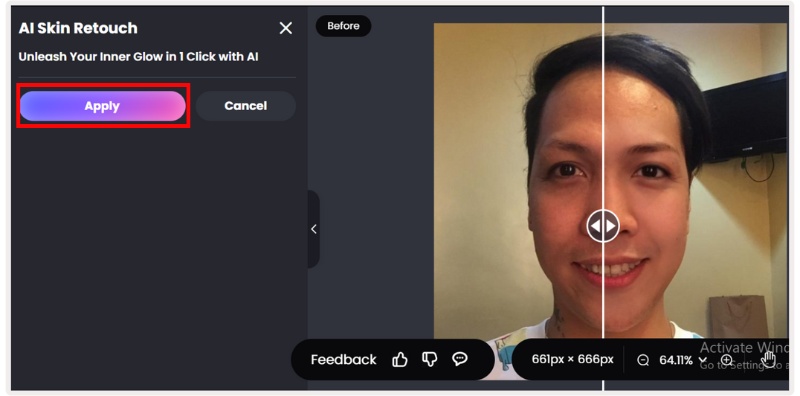
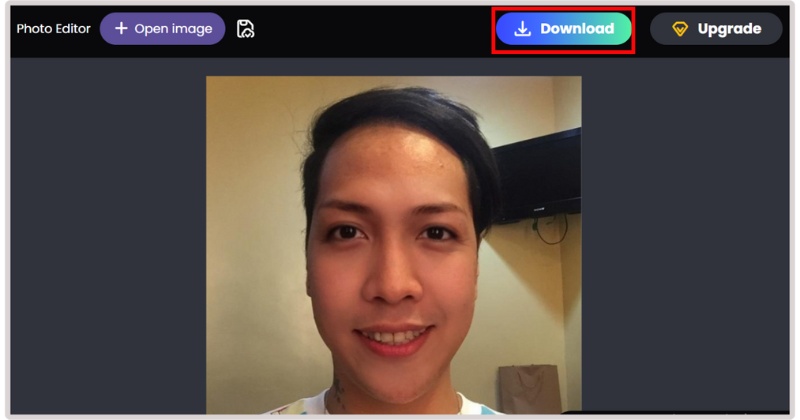
Step 3. To preview the outcome, simply slide it left or right. If you are happy with the outcome, you can download the retouched photo immediately. That's all. No layers, no brushes, no complicated settings, but instant results.
Verdict
If Photoshop seems too complicated or time-consuming, Picwand AI Skin Retouch is a great substitute. It’s a great choice for someone who just wants a polished look without dealing with all the technicalities of editing. You may not have editing experience, but you can still figure it out.
Pros
- Very user-friendly, even for novices.
- Quick outcomes with only a few clicks.
- AI guarantees that edits remain natural-looking.
- Online access without the need to install software.
To conclude, Picwand AI Skin Retouch is revolutionary if you want smooth, retouched portraits, but you don't have the time or patience to make the edits in Photoshop. It's like having a mini Photoshop but without all the hassle.
Part 3. FAQs about Enhance Face in Photoshop
What tools can I use to enhance face in Photoshop?
Tools such as the Liquify filter, Dodge and Burn, Healing Brush, and Spot Healing Brush are available. Adjustment layers for brightness, contrast, and color balance also help improve facial features naturally.
What’s the difference between face enhancement and skin retouching in Photoshop?
Face enhancement encompasses everything that improves facial appearance, such as brightening eyes, whitening teeth, or reshaping with Liquify, while skin retouching primarily focuses on smoothing and correcting skin texture or tone.
Is there an easier alternative to Photoshop for face enhancement?
Yes, face enhancer tools like Picwand AI Skin Retouch make the process way faster and easier. You just upload your photo, let the AI do the work, and download the enhanced result. No Photoshop skills required.
How do I whiten teeth in Photoshop?
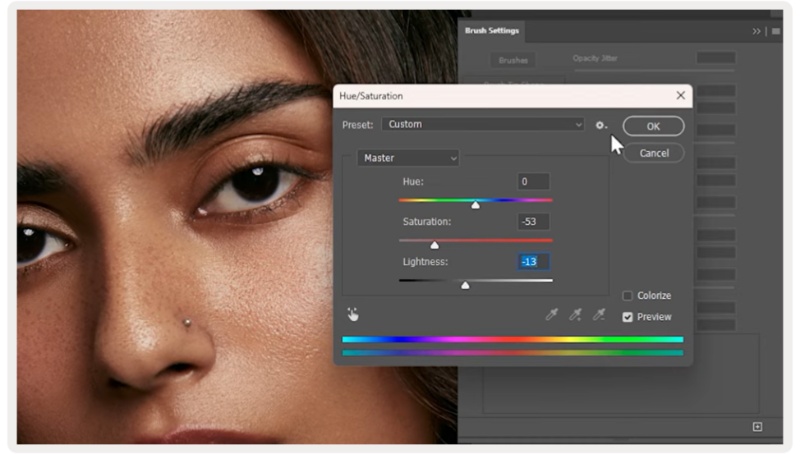
After choosing the teeth area with the Lasso Tool, you can apply a layer for Hue/Saturation adjustment. By lowering the yellow saturation and slightly increasing brightness, you’ll get a natural white effect.
Is there a one-click way to enhance a face in Photoshop?
Photoshop doesn’t really have a one-click button, but some filters like Camera Raw Filter and Neural Filters can quickly enhance skin and facial features to make yourself look younger with minimal effort.
Conclusion
Gaining knowledge on how to retouch skin in Photoshop can quickly elevate your skill set, allowing you to have control over every detail of your photo and take every image to its fullest potential. You may be intimidated by the tools at first, but with some practice, it will become second nature, and the results are worth the initial effort. If you are looking for a quicker approach and want something easy to use, Picwand AI Skin Retouch is a smart option for generating seamless results. Regardless of what option you choose, the outcome of having professional-looking photographs is all about finding the option that works for you when visually processing your images into something natural, seamless, and sophisticated.
AI Picwand - Anyone Can be A Magician
Get Started for Free