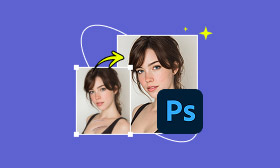
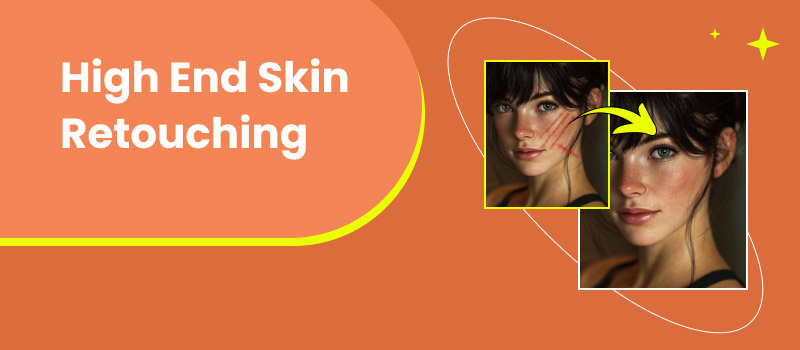
4 Steps to High-End Skin Retouching for Beginners With Tips
These days, the demand for high-end skin retouching in commercial and editorial photography is higher. Brands, magazines, and professional photographers aim to present subjects with flawless skin to mask imperfections. This allows you to make the subject look perfect even when the original image has minor skin flaws. Performing it is easy as long as you know the right tools and techniques. This post will teach you how to do high-end skin retouch using Photoshop. We will show you how to achieve clean, natural-looking results without over-smoothing. By the end of this post, you will equip yourself with the knowledge and confidence to perform such a task as a professional editor.
Contents:
Part 1. How to High-End Skin Retouching
High-end skin retouching is one of the most in-demand techniques in the industry. It is a professional-level photo editing technique used mainly in beauty, fashion, and portrait photography. The goal is to achieve clean, natural-looking skin that maintains texture, pores, and authenticity. Fortunately, you can perform skin retouching in Photoshop. The method we will show you below avoids the plastic skin that happens when the skin is over-smoothed. We will focus on correcting imperfections, balancing highlights and shadows, and subtly refining the skin tone.
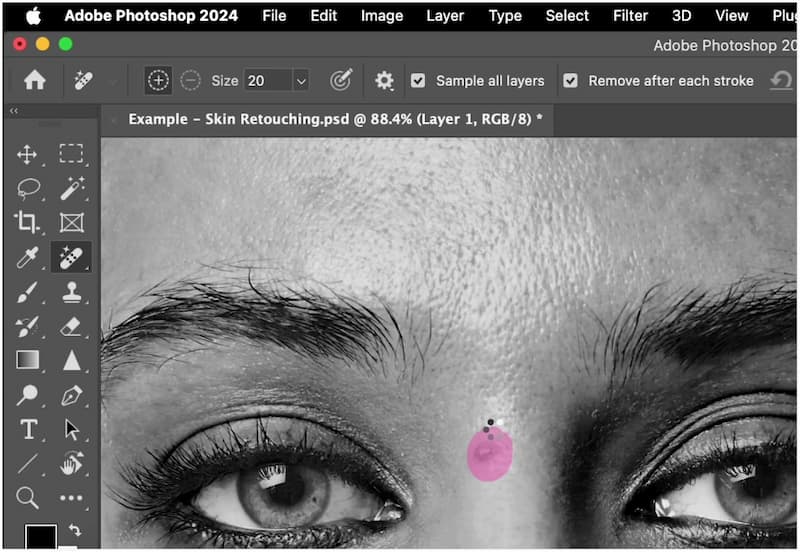
Step 1: Open the raw image in Photoshop and create a new layer on top of it. Select the Remove Tool and carefully circle blemishes, acne, or any distractions. Release the mouse to let Photoshop automatically blend the area. Zoom in to target smaller imperfections without affecting the surrounding healthy skin nearby.
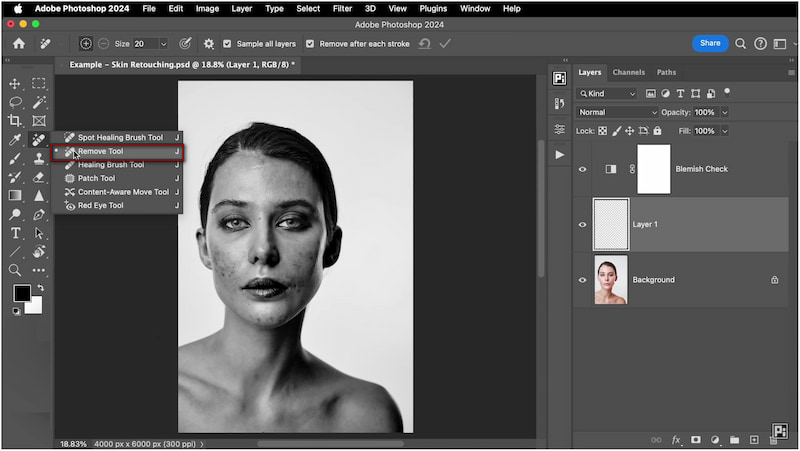
Creative Tip: Use the Remove Tool with caution to avoid creating strange artifacts. Also, preserve natural features like freckles and moles to maintain the skin's authentic appearance.
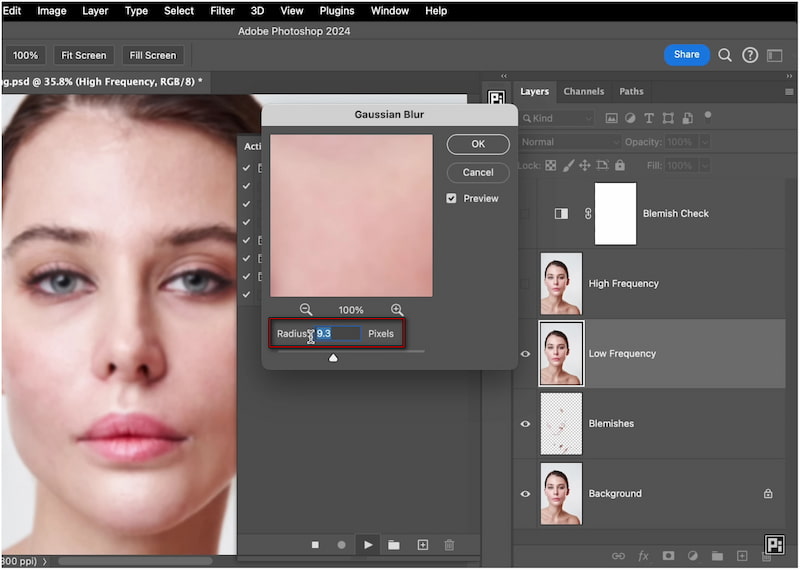
Step 2: Duplicate your cleaned-up image layer twice by pressing Ctrl/Cmd+J. Then, rename the bottom one Low Frequency and High Frequency for the top. Hide the High Frequency layer. On the Low Frequency layer, go to the Filter tab and select Blur to bring up the Gaussian Blur. Increase the Radius until skin texture disappears, but face structure remains.
• If in 8-bit, use Subtract.
• If in 16-bit, use Add.
• Set the blending mode to Linear Light.
Important Note: Frequency separation enables you to separate skin texture from skin color and tone, allowing you to edit them independently. The High Frequency contains the texture, while the Low Frequency contains the colors and tones.
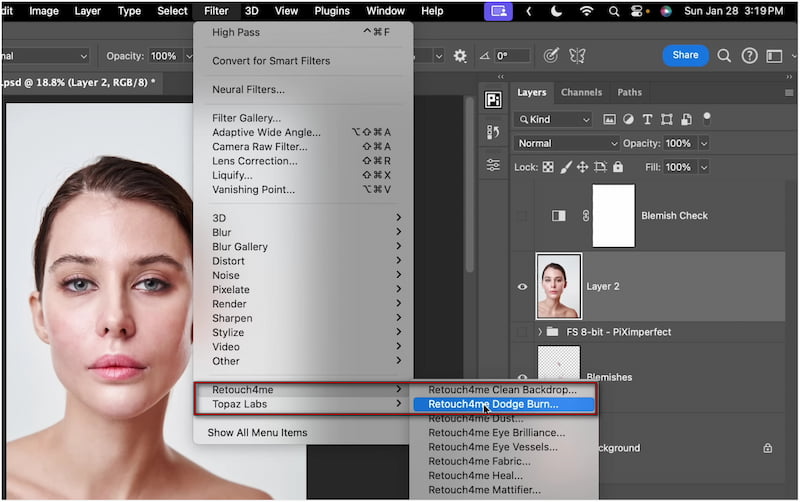
Step 3: Navigate to the Filter tab, select the Retouch4me (plugin) option, and click Retouch4me Dodge & Burn. The plugin analyzes highlights and shadows on the skin and balances them for smooth tones. Use the Blend slider to control intensity, then click Apply.
Creative Tip: Create two new curves adjustment layers. One for lightening (Dodge) by slightly pulling up the curve, and one for darkening (Burn) by pulling down the curve. Invert the masks to hide the effect, and use a soft white brush to gently paint over shadows, highlights, and midtones. This step evens out skin transitions while preserving the integrity of pores.
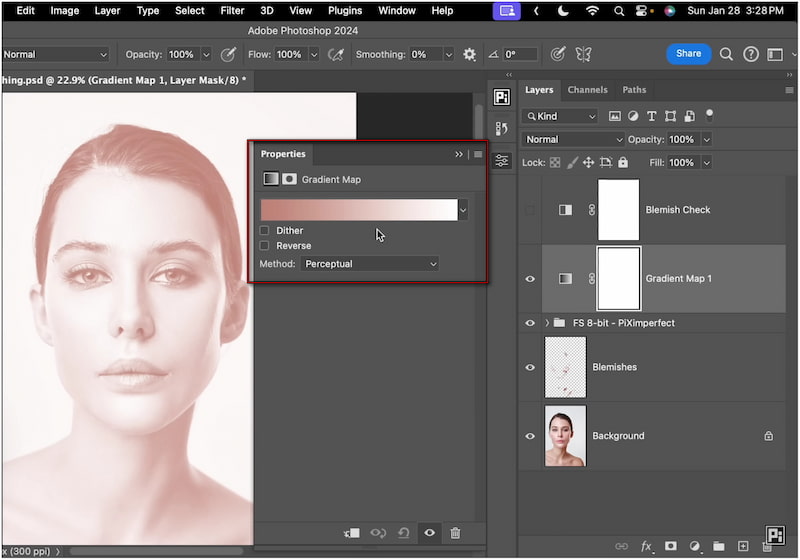
Step 4: For the final touches, create an Adjustment Layer and select the Gradient Map option. Select gradient colors that complement your skin tone. Set the Gradient Map layer to Soft Light or Overlay, and reduce the opacity until the tones appear balanced. This adds subtle depth and mood, while also evening skin tones and enhancing the subject’s facial structure.
That’s our high-end retouching tutorial skin ends! Retouching skin in Photoshop is absolutely doable. However, it requires time, patience, and editing skills to achieve professional results. The process is not just about removing blemishes. It’s about balancing tones, preserving natural texture, and enhancing the overall image without overdoing it.
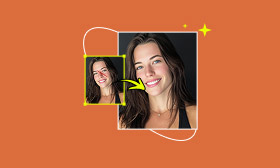
Part 2. How to Retouch Skin With an Easier Way
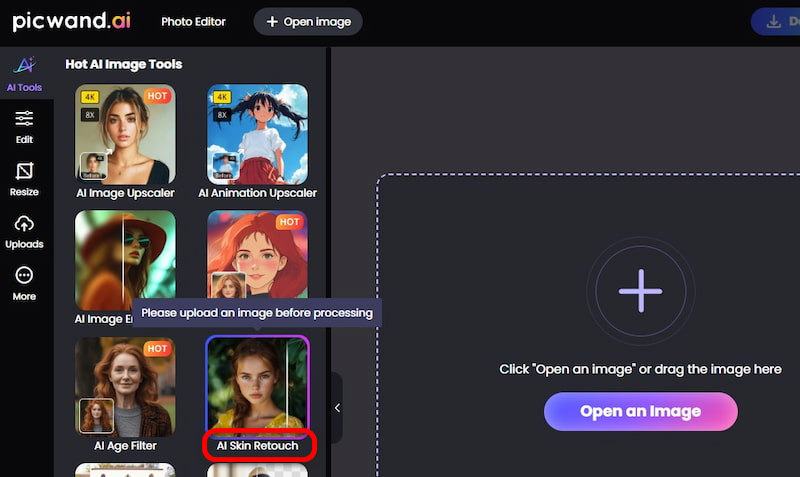
Skin retouching has always been an important step in portrait and beauty photography. Traditionally, we rely on the Remove Tool to manually remove blemishes, pimples, and other imperfections. While effective, this process demands time, patience, and editing skill. If you're looking for a faster solution, there’s a smarter option: Picwand AI Skin Retouch. It is an AI-powered tool that uses high-frequency layering technology to perform high-end skin retouching action. It requires no manual editing, offering a one-click solution to touch-up skin.
Why Choose Picwand AI Skin Retouch:
• Powered by advanced high-frequency layering to separate texture from tone.
• Preserves pores, fine lines, and facial details, making the final image appear realistic.
• Scans for blemishes, acne, and other imperfections, then automatically corrects them.
• Utilizes artificial intelligence to detect imperfections and automatically retouch the skin
Step 1: Open a browser and reach the Picwand AI Skin Retouch official page through the provided link. On the homepage, click Upload a Photo to add the image you want to retouch. For best results, use a clear image without heavy filters.
Step 2: Once loaded, Picwand automatically scans the face and skin. Picwand automatically scans the face and skin. There’s no need for manual selections. The AI detects imperfections and instantly smooths skin, removes blemishes, and enhances tone with natural balance.
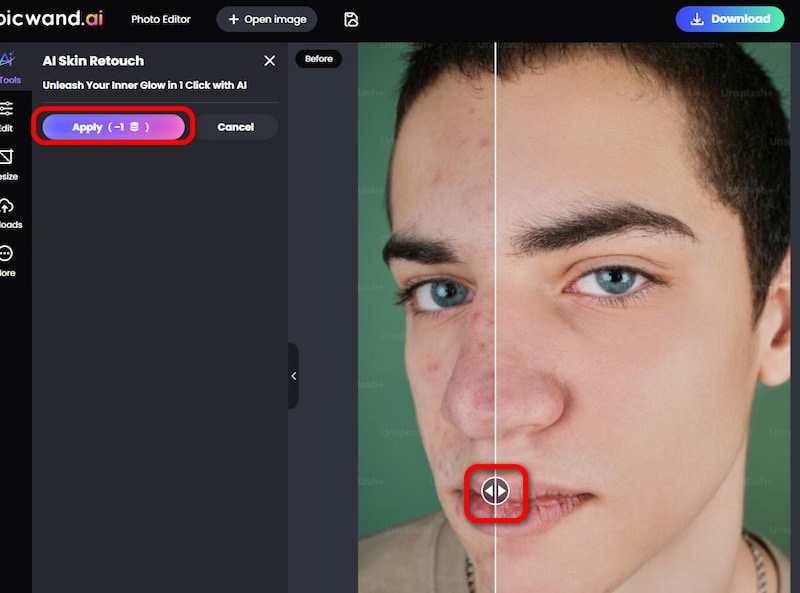
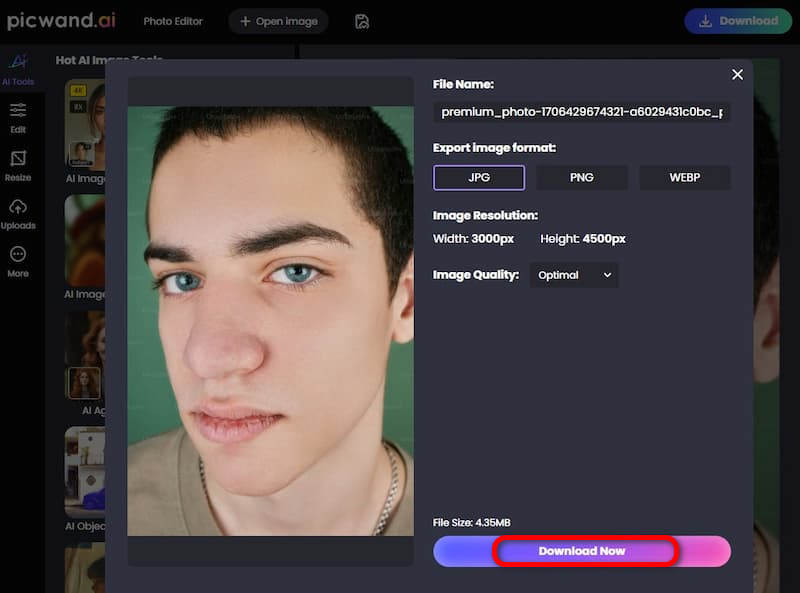
Step 3: Picwand provides a before-and-after preview, allowing you to see the changes. If you’re satisfied, click Download to save the retouched photo. In the pop-up, choose your preferred output format and quality, then confirm by selecting Download Now.
Manual high-end retouching of skin texture in Photoshop is a great learning tool. However, it consumes time and is indeed complicated for non-professional editors. Fortunately, Picwand AI Skin Retouch offers a one-click solution that delivers smooth and realistic results in seconds. This skin retouching app makes high-quality retouching effortless.
Part 3. FAQs about High-End Skin Retouching
What is high-end fashion skin retouching?
High-end fashion skin retouching is a professional photo editing technique. It is primarily used in beauty, fashion, and commercial photography to achieve a flawless skin appearance.
What is the difference between basic and high-end retouching?
Basic retouching addresses obvious skin imperfections using simple tools, such as the Healing Brush or Spot Removal. Meanwhile, high-end retouching uses frequency separation, dodge & burn, and color adjustments.
What are the tools used for retouching images?
For basic retouching, you can use Healing Brush, Spot Healing Brush, Clone Stamp, and Patch Tool. These tools effectively remove blemishes and small imperfections.
Conclusion
High-end skin retouching is a crucial skill for producing professional images in commercial photography, fashion, and editorial work. With practice, patience, and attention to detail, anyone can achieve magazine-quality results. For a faster and easier approach, use Picwand AI Skin Retouch. It offers a one-click solution that delivers professional-quality skin retouching in seconds. It preserves skin texture, removes imperfections, and enhances tones automatically.
AI Picwand - Anyone Can be A Magician
Get Started for Free