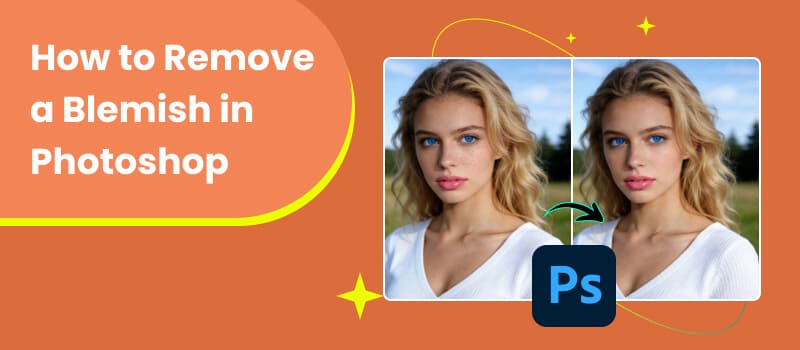
How To Remove a Blemish in Photoshop:Detailed Stpes
Skin retouching is one of the most common photo editing tasks, whether you are working on portraits, product photos, or social media visuals. Small blemishes, acne spots, or temporary skin imperfections can easily distract from an otherwise great image. That is why knowing how to remove a blemish in Photoshop has long been considered a basic but essential skill for photographers and designers.
Adobe Photoshop offers several professional tools for blemish removal, giving users precise control over texture, tone, and detail. However, this level of control often comes at the cost of time and technical complexity. Beginners may find Photoshop intimidating, while even experienced users may feel that simple retouching tasks take longer than expected.
In this guide, we will walk through in photoshop 7 how to remove a blemish, explain which tools work best in different situations, and evaluate the overall experience. We will also introduce Picwand AI Skin Retouch, a modern AI-powered alternative designed for users who want fast, natural-looking results without mastering complex editing software.
Contents:
Part 1. How to Remove a Blemish in Photoshop
Photoshop provides multiple ways to remove blemishes, but the most commonly used tools are the Spot Healing Brush, Healing Brush, Clone Stamp, and Patch Tool. Below is a practical workflow used by many professionals.
Steps
Step 1.Open and Prepare the Image
Start by opening your image in Photoshop. Before editing, it is recommended to duplicate the background layer. This allows you to compare before-and-after results and keeps your original image intact.
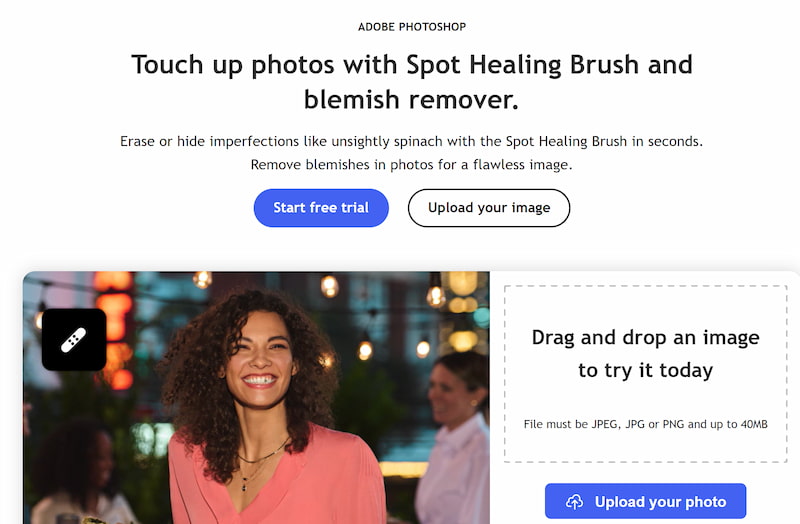
Step 2. Use the Spot Healing Brush Tool
The Spot Healing Brush is often the fastest option for small blemishes such as pimples or dust spots.
- • Select the Spot Healing Brush Tool
- • Choose a soft-edged brush slightly larger than the blemish
- • Make sure “Content-Aware” is enabled
- • Click once over the blemish
Photoshop automatically samples surrounding pixels and blends them into the selected area. For minor imperfections, this tool alone can produce excellent results.
Step 3. Switch to the Healing Brush for More Control
When the Spot Healing Brush produces uneven texture or color shifts, the Healing Brush offers better precision.
- • Hold Alt (or Option on Mac) to sample clean skin
- • Paint gently over the blemish
- • Work in small strokes rather than dragging long lines
This method preserves skin texture more accurately and works well for areas near edges, such as the nose or jawline.
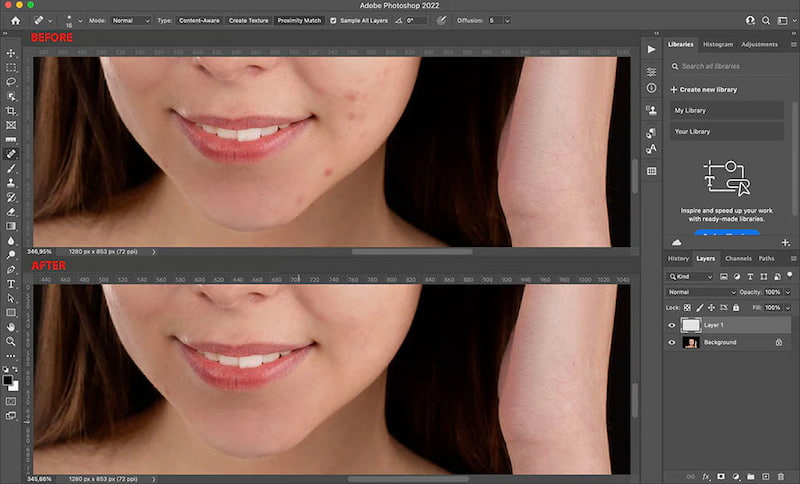
Step 4. Use the Clone Stamp Tool (If Necessary)
For stubborn blemishes or uneven skin texture, the Clone Stamp Tool may be required.
Set the opacity to around 20–30%
Sample nearby clean skin
Build up coverage gradually
This tool requires more manual skill, as improper use can easily make skin look flat or artificial.
Step 5. Zoom Out and Review
Always zoom out to check whether the retouch looks natural. Over-editing is a common mistake, and blemish removal should be subtle rather than noticeable.
Photoshop remains one of the most powerful tools for skin retouching. Till now your concern on how to remove a blemish in Photoshop. Its might be resolved. Its high end skin retouching and flexibility are unmatched, especially for professional workflows. However, the learning curve is steep, and simple tasks like blemish removal can feel time-consuming for casual users.
It is best for:
- • Professional photographers
- • Advanced retouchers
- • Users who need full manual control
Not ideal for:
- • Beginners
- • Quick edits
- • Users without design experience
Part 2. Best Alternative to Adobe Photoshop

Picwand AI Photo Retouching
For users who want clean, natural skin retouching without complex tools, Picwand AI SPhoto Retouching offers a much simpler solution. Instead of manually selecting brushes and sampling pixels, Picwand relies on AI models trained specifically for facial and skin enhancement.
Key Features
- • Automatic blemish detection that targets acne, spots, and minor imperfections
- • Natural skin texture preservation, avoiding plastic-looking results
- • One-click enhancement, no manual brush work required
- • Beginner-friendly interface, suitable for non-designers
- • Fast processing, ideal for batch editing or social media content
Unlike traditional editing software, Picwand focuses on delivering results quickly while maintaining realistic skin appearance.
How to Remove Blemishes Using Picwand AI
Step 1. Upload your photo to Picwand AI Photo Retouching.
Step 2. Let the AI automatically analyze the image.
Step 3. Preview the result and adjust intensity if needed. Download the final retouched image
Pros of Picwand AI:
- • Extremely easy to use
- • No learning curve
- • Faster than manual retouching
- • Ideal for social media, portraits, and casual photography
Picwand AI is an excellent alternative for users who prioritize speed, high print quality, and natural results. While Photoshop remains the industry standard for professionals, Picwand AI fills a clear gap for everyday users who want polished photos without professional editing skills.
Part 3. FAQs About How to Remove a Blemish in Photoshop
Is Photoshop the best tool for removing blemishes?
Photoshop is one of the most powerful tools available, but it is not always the most efficient option for simple blemish removal.
Does blemish removal damage skin texture?
It can if overused. Proper technique and subtle adjustments help preserve natural skin texture.
Is Picwand AI suitable for professional use?
Picwand AI works well for general photography, social media, and content creation. High-end commercial retouching may still require Photoshop.
Conclusion
Learning how to remove a blemish in Photoshop is a valuable skill, especially for users who want full creative control over their images. Photoshop offers professional-grade tools capable of handling even the most challenging retouching tasks. However, that power comes with complexity and time investment. For users who want fast, natural-looking results without mastering advanced editing techniques, Picwand AI Photo Retouching provides a practical and accessible alternative. By combining intelligent automation with easy controls, Picwand allows anyone to achieve clean, polished images in just a few steps. Ultimately, the best tool depends on your workflow. Photoshop is ideal for professionals who need precision, while Picwand AI is perfect for creators who value speed and simplicity.
AI Picwand - Anyone Can be A Magician
Get Started for Free