How to Retouch Skin in Premiere Pro and Online: Complete Tutorial
Want to enhance your videos without making them look overly edited? Skin retouching is a great way to eliminate imperfections while keeping the results natural. If you've ever wondered how to retouch skin in Premiere Pro, this article will show you the main steps of skin retouching in Premiere Pro. We'll first cover skin retouching directly in Premiere Pro. Then we will show you how you can achieve similar results by using the faster and easier method of Picwand. You can decide after reading which method to use on your next project. During the guide, we will discuss the steps, features, pros and cons, and a verdict.
Contents:
Part 1. How to Retouch Skin in Premiere Pro
When talking about video editing, Premiere Pro is not just a trim and effects tool; it can also help improve skin color and remove imperfections. It may sound daunting at first, but with just a few tools and tweaks, you can easily retouch skin in Premiere Pro while still keeping everything looking realistic and natural. We'll walk through all the steps below.
Lumetri Color
Step 1: Open Premiere Pro and drag your video clip onto the timeline to start editing.
Step 2: Right-click on your video clip and select Duplicate. Place the duplicate clip above the original on the timeline.
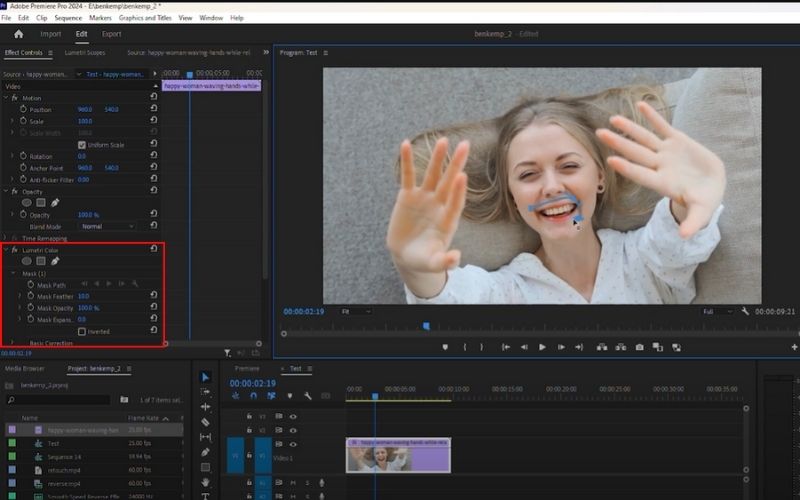
Step 3: Before adding blur, go to the Color workspace and apply the Lumetri Color effect.
Step 4: Before adding blur, go to the Color workspace and apply the Lumetri Color effect.
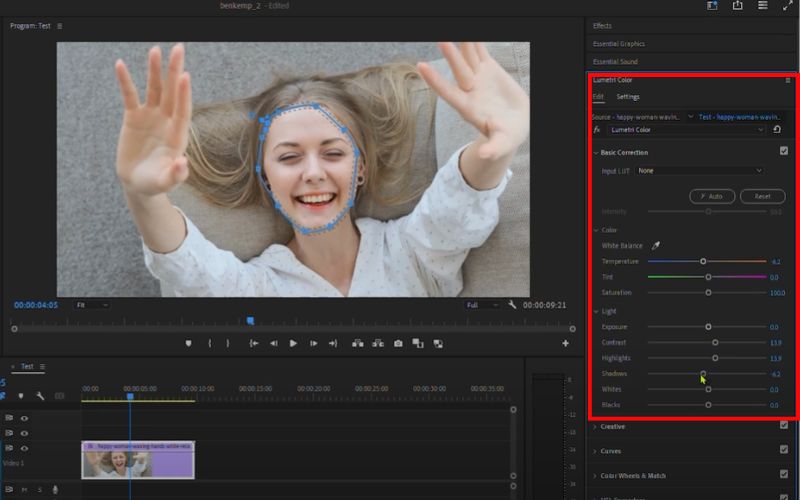
Step 5: Go to Basic Correction and adjust the white balance, contrast, and other settings.
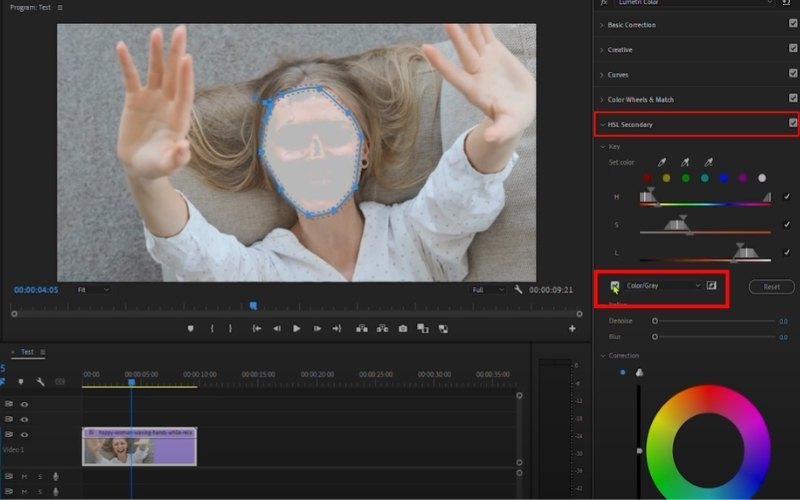
Step 6: Select the curve lines and adjust. After that, scroll down and find the HSL Secondary option, then enable the Color/Gray setting to change the colors easily. If done, disable it.
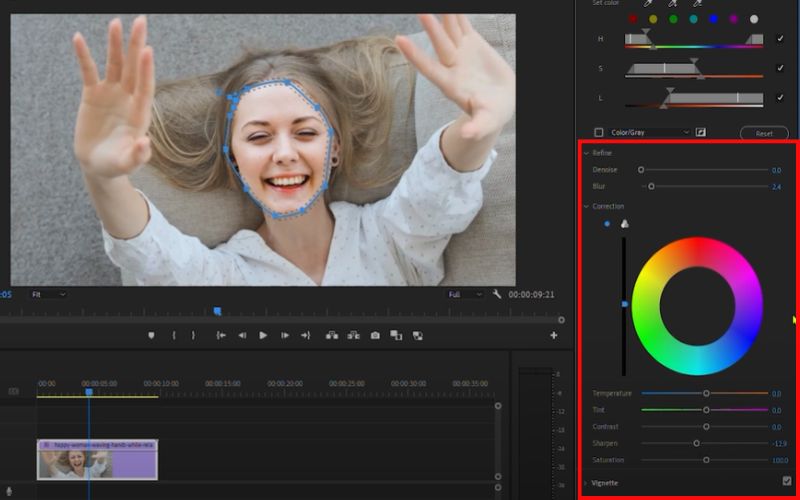
Step 7: Click the dropdown icon under Refine and adjust the Blur. You can also change the luminosity under the Correction.
Gaussian Blur
Step 1: Locate Gaussian Blur in the Effects panel, then apply it to the clip that has been duplicated. Increase the blurriness until skin imperfections soften, but avoid over-blurring to maintain a natural appearance.
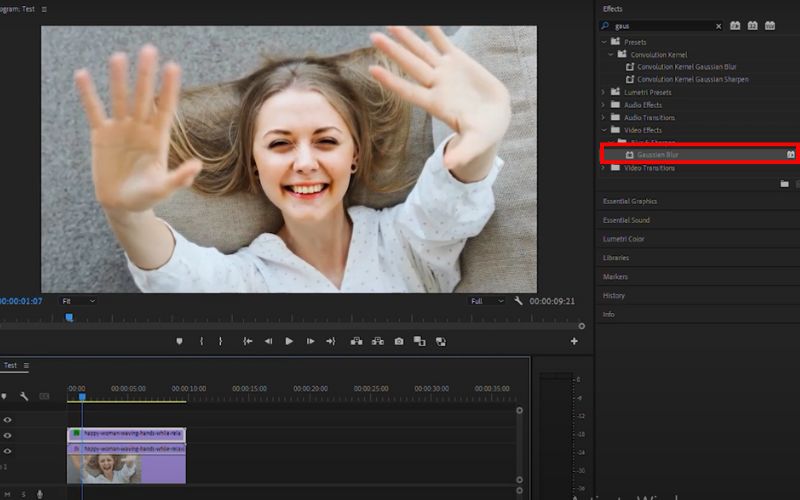
Note: Toggle off the Lumetri color effect before proceeding to Gaussian Blur.
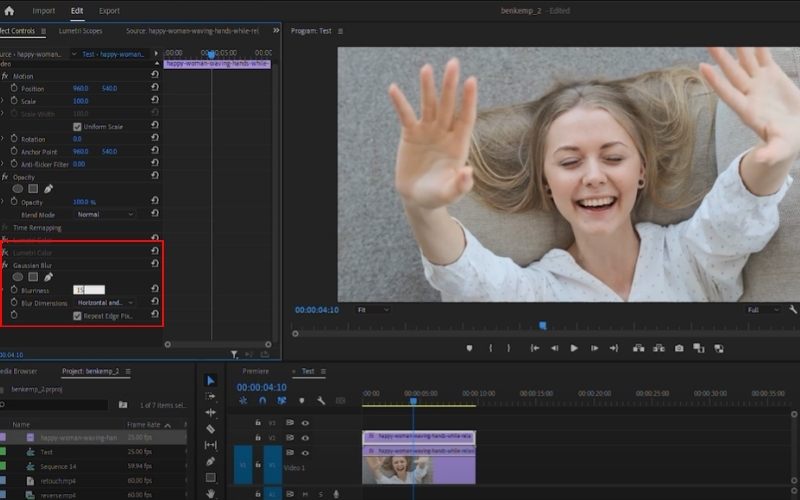
Step 2: Go to the Bluriness and enter 15 or your preferred adjustment of your video.
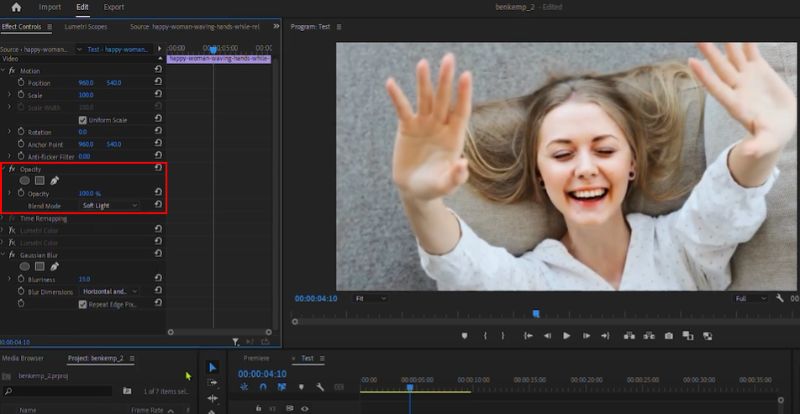
Step 3 Under the Opacity, select the blend mode to soft light. If it's too much, you can also adjust the opacity.
By following these steps, you can retouch skin in Premiere Pro without making your subjects look overly airbrushed. Furthermore, in addition to photo retouching, you can also denoise video or remove green screen in Premiere Pro! It is actually a powerful video editor!
Part 2. How to Retouch Skin Online
If you don't have time to invest in advanced edits in Premiere Pro, Picwand AI Photo Retouching is an option that allows you to get perfect skin quickly and easily. Picwand is a web app that smoothes skin, removes blemishes, and improves portraits with the click of a button without the need to be professionally trained in photo editing. If you are fixing photos for social media or simply want a polished, clean look, Picwand provides easy and fast photo retouching for beginner photo editors.
Key Features
• Automatically detects skin imperfections and smooths them out naturally.
• No need for complex tools; results appear in seconds.
• Lets you fine-tune the intensity of retouching for a natural or glam look.
• No software installation needed. Just upload, edit, and download.
• Maintains image clarity while removing blemishes and smoothing skin.
Why Choose Picwand AI Photo Retouching
• Fast and user-friendly for beginners.
• Saves time compared to manual editing.
• Produces professional-looking results in just a few clicks.
• Works directly in your browser, so no heavy software is required.
How to Retouch Skin Online with Picwand AI Photo Retouching
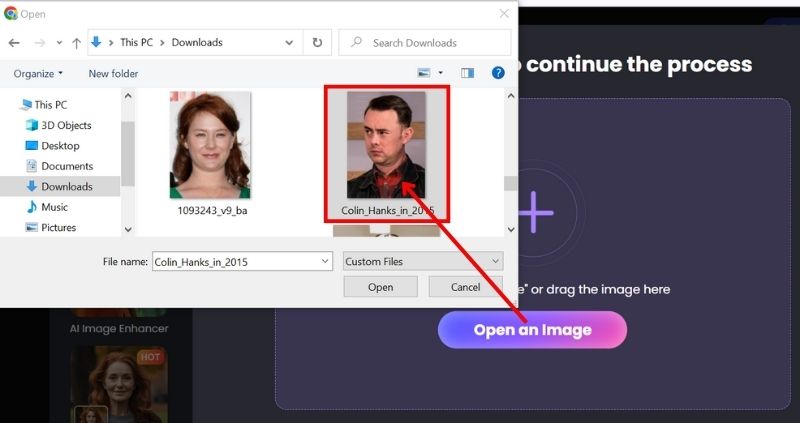
Step 1: Visit the official Picwand AI Photo Retouching website in your browser.
Step 2: Click the Upload a Photo button and select the portrait you want to retouch.
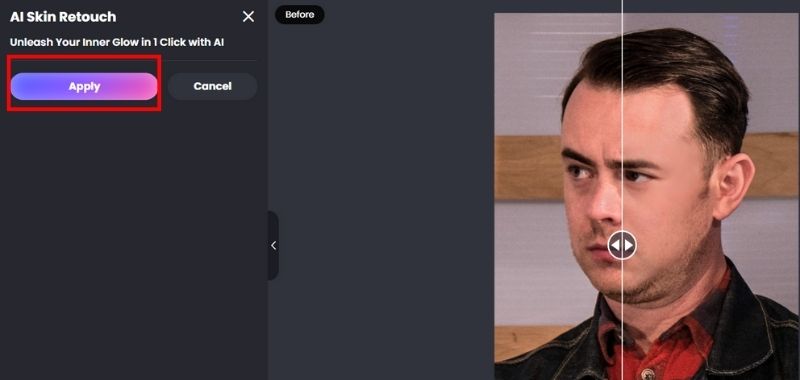
Step 3: Your photo will automatically smooth skin, remove blemishes, and enhance the tones. Just click the Apply to retouch your image.
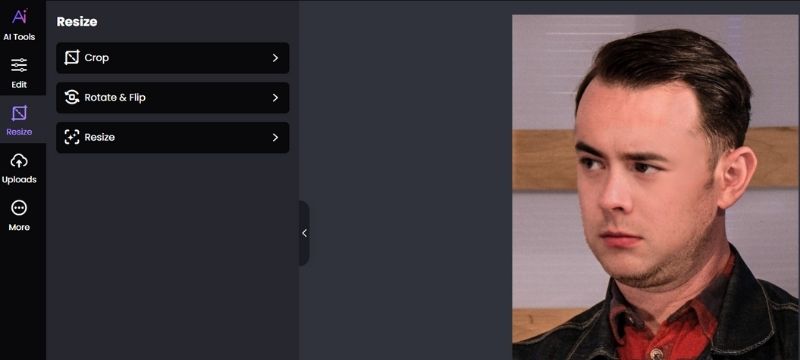
Step 4: You have the option to crop, rotate, and resize your image. (optional)
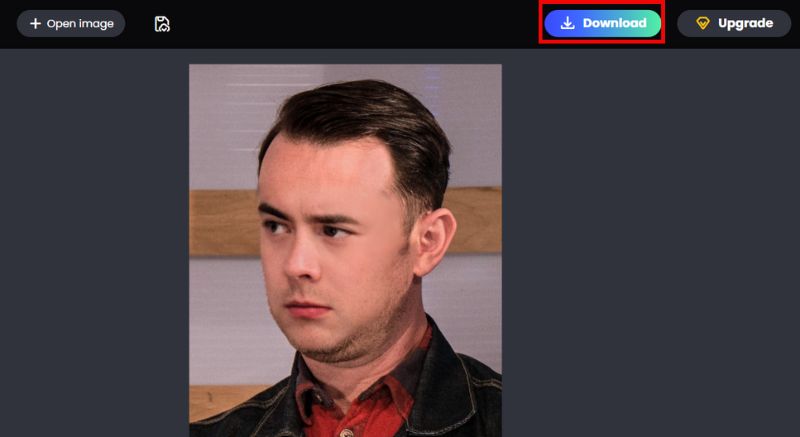
Step 5: Once satisfied with the result, preview your photo and download the enhanced version.
Verdict
If you're tight on time or want a quick fix, Picwand AI Photo Retouching is your best option for online skin retouching. The speed, ease of use, and fantastic results make Picwand the perfect option for creators who make social media or websites or someone who wants amazing portraits without a lot of retouching experience. While you get more options in Adobe Premiere Pro, when you want to get professional-looking skin retouching in just a few clicks, you can go with Picwand AI Photo Retouching.
Part 3. FAQs about Retouching Skin in Premiere Pro
Can you retouch skin directly in Premiere Pro without plugins?
Yes! Premiere Pro has built-in tools like Gaussian Blur, Lumetri Color, and masking that allow you to smooth skin and adjust tones without needing third-party plugins.
How do I make skin look natural after retouching?
The key is moderation. Use soft masking, lower the blur intensity, and adjust the feathering so that the skin appears smooth but not overly airbrushed. Always preview your video in motion.
Is retouching skin in Premiere Pro better than Photoshop?
Photoshop is better suited for still photos, as it offers more detailed editing tools while Premiere Pro is more practical for video editing. If you want to remove background of image after retouching skin or do other editing actions on a photo, PhotoShop is a better choise. If you’re working on video clips, Premiere Pro is the better choice.
Is there a faster alternative to manual retouching in Premiere Pro?
Is there a faster alternative to manual retouching in Premiere Pro?Definitely! Online AI tools like Picwand AI Photo Retouching can automatically retouch skin in photos with just one click, saving time compared to manual editing in Premiere Pro.
What’s the difference between retouching in Premiere Pro and After Effects?
Premiere Pro is better for quick edits inside your main video timeline, while After Effects allows more detailed masking, tracking, and advanced skin retouching effects.
Conclusion
Whether you are working on a complete video edit or trying to fix a quick photo retouch on the go, retouching skin does not need to be difficult. You will have the flexibility to smooth out imperfections, change up skin tones, and achieve professional results all within your timeline in Premiere Pro. Understanding how to retouch skin in Premiere Pro gives you control over the look of your video, but on the other hand, you may want something quick and hassle-free. Online tools such as Picwand AI Photo Retouching can give you instant skin retouching and results with one click. Both options are good and will provide different results depending on your editing situation, detailed control in Premiere Pro or simple online retouching through AI.
AI Picwand - Anyone Can be A Magician
Get Started for Free