Two Easy Methods to Get Line Art with Adobe Illustrator
A line drawing illustration converted from your image can remove messy lines and blend colors, restoring its basic structure. It is interesting. You can use it in product design, art creation, and mapping analysis. Therefore, various software and apps have been developed to accomplish this. Among them, Adobe Illustrator is an excellent one. Now, this article will guide you on how to convert pictures to line drawings with Adobe Illustrator. Another easy way with Picwand will also be introduced.
Contents:
Part 1. Two Methods to Convert Image to Line Drawing in Illustrator
Adobe Illustrator is an excellent image editor. It offers two standard methods for converting photos to line art. It also provides you various tool to edit your image, such as background remover. Read the following sections to learn how to create the drawing using Illustrator.
Method 1. Automatic Tracing (The Fastest Way)
Adobe Illustrator offers the Image Trace feature, which is driven by algorithms. You will get your line art soon, after following these steps.
Step 1: Import your image.
Open File and click Open to upload your photo.
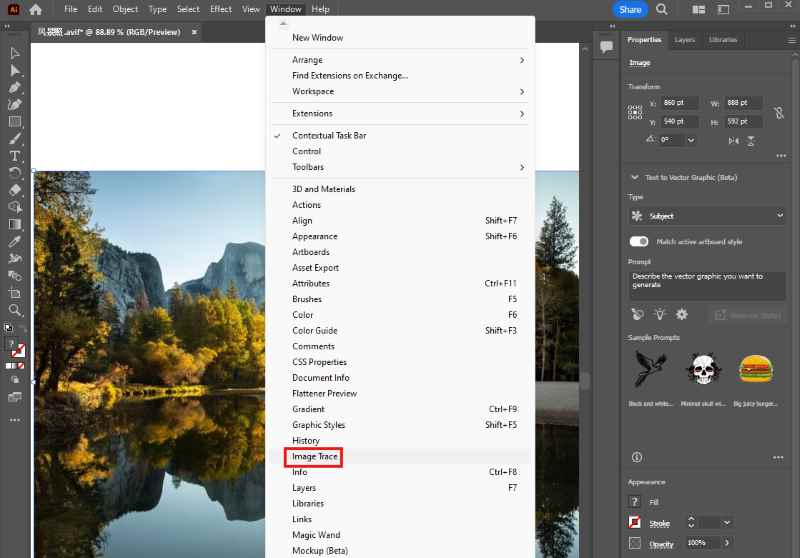
Step 2: Find the Image Trace feature.
Open Window, then you will see Image Trace in the list.
Step 3: Make adjustments.
After entering Image Trace, several key parameters are available.
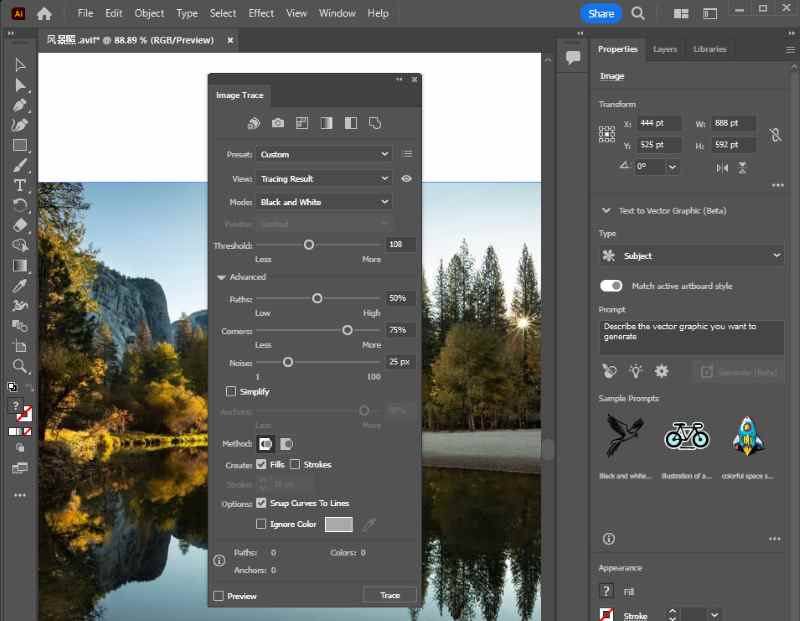
Mode - Choose Black and White to convert a JPG to a line drawing.
Threshold - You can change the thickness of your line here. The higher the value you set, the thicker it will be.
Path - You’d better choose 100% to reduce noise.
Corners - Increase the value to preserve sharp corners.
Ignore Color - Select this option to remove the background.
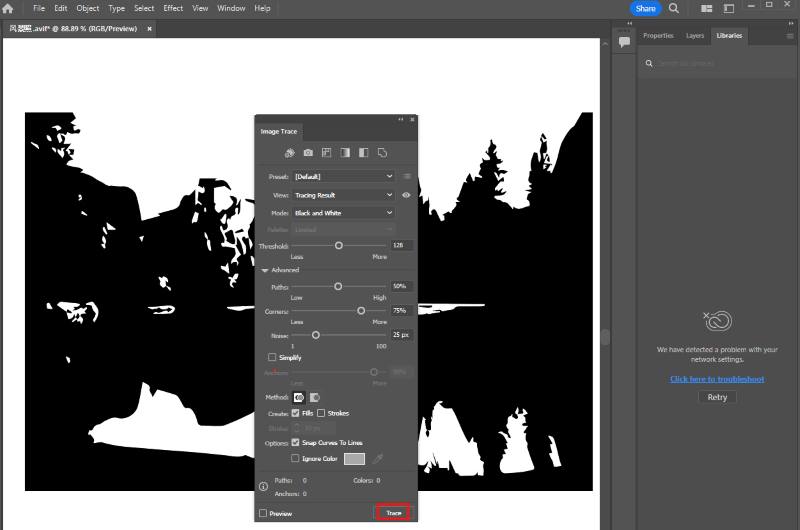
Step 4: Apply your changes.
You can Trace it after you finish adjusting.
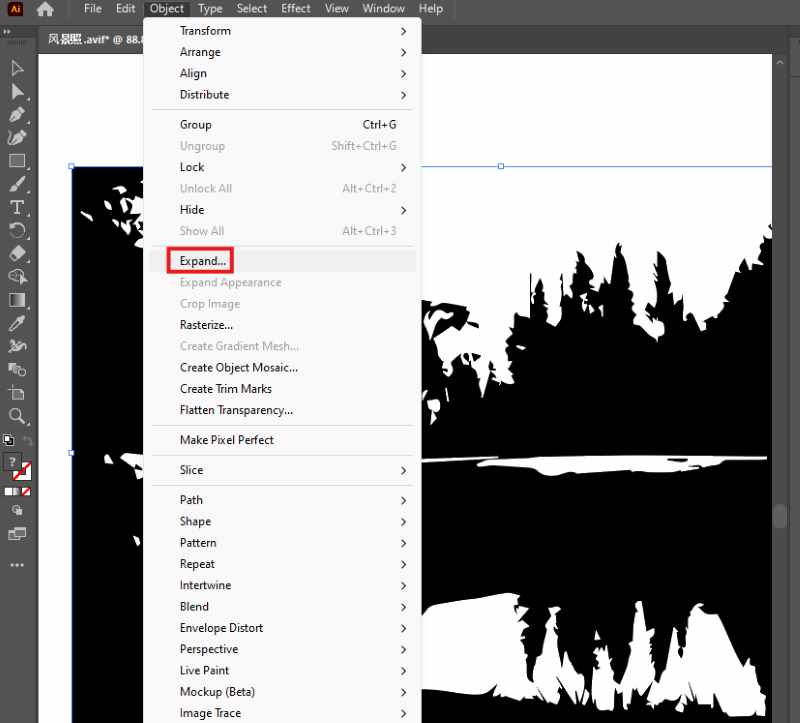
Step 5: Covert the image into editable paths.
After generating the line drawing, you are allowed to edit the anchors by opening Expand in Object.
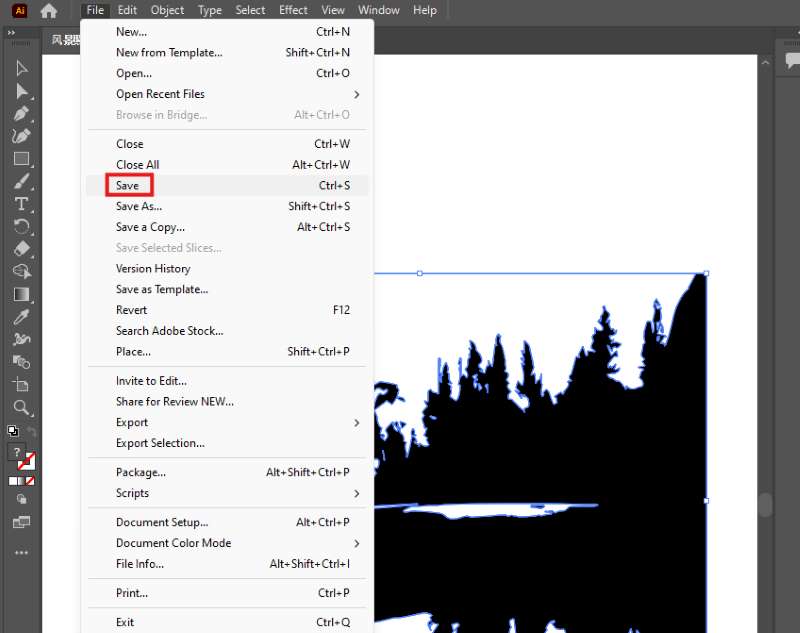
Step 6: Export the line art.
Finally, tap File to Save your line drawing.
Summary: This method can automatically convert images to line art, which is easy to operate. However, the transformation is fixed, making it hard to generate a specific style.
Method 2. Manual Drawing (the Most Accurate Control)
Adobe Illustrator allows users to trace images with their hands. It contributes to a distinctive line drawing.
Step 1: Open the picture in Illustrator.
You can drag your image directly into the software.
Step 2: Lock the original image.
You can click Ctrl+2 to fix your picture.
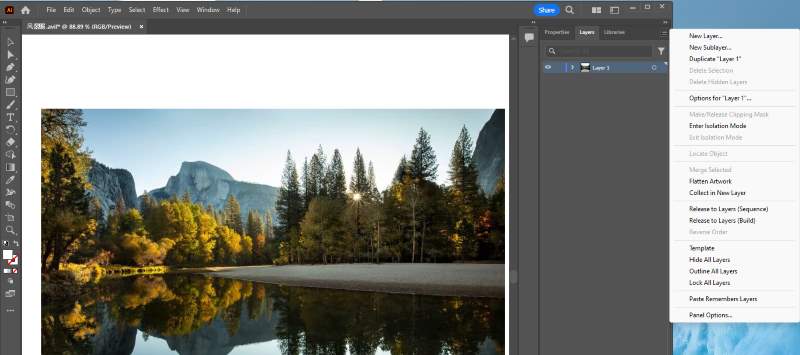
Step 3: Add a new layer.
Select Layers by the right side of the board. Then, open the panel menu to add a new layer.
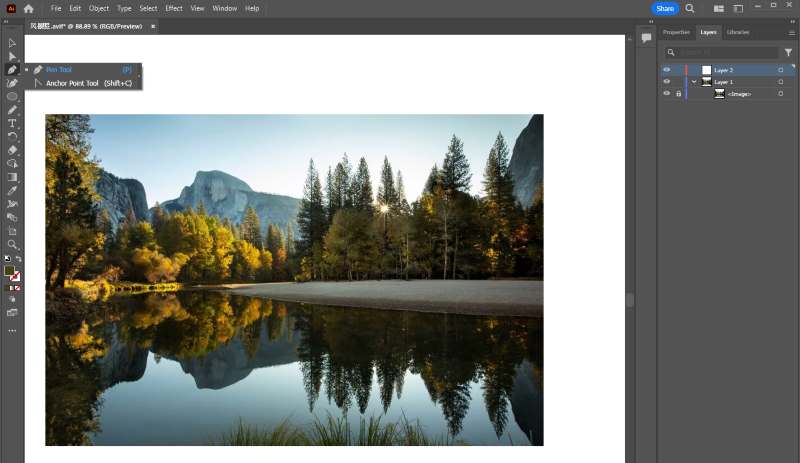
Step 4: Trace your image on the picture.
Open Pen Tool or press P to begin tracing by hand.
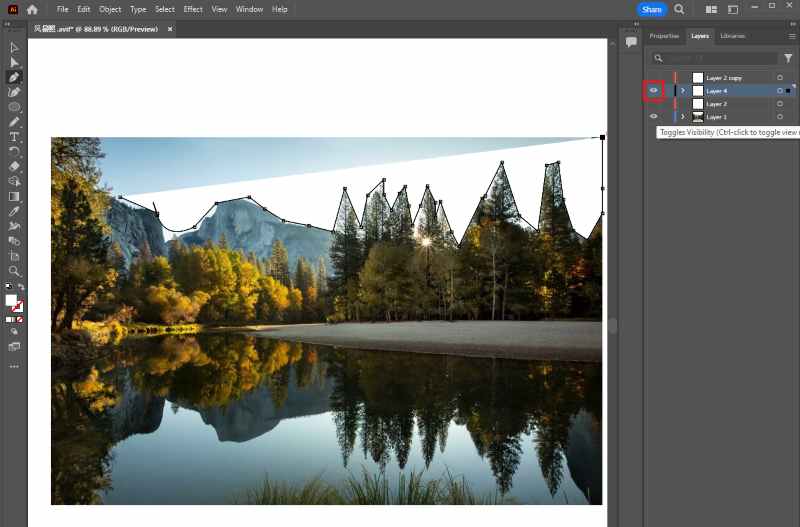
Step 5: Preview your line drawing.
Once you have completed the tracing, you can click the eye icon on the image to hide the previous photo and view your drawing.
Step 6: Save your line drawing.
If you are satisfied with the drawing, click Ctrl+S to save it to your computer.
Summary: Manual drawing enables the creation of individualized line art, but it is a time-consuming and skill-intensive approach.
Part 2. Picwand AI Art Style Generator
Picwand offers a line art converter. It can create line art from human, animal, or landscape photos. The entire conversion is processed by AI, allowing for the drawing to be generated in just a few seconds. Moreover, it does not require any artistic skill or knowledge. Thus, whether you are a designer seeking a quick transformation or a beginner drawn to art creation, Picwand is always the best option. This passage provides steps for converting pictures into line drawings using Picwand.
Step 1: Go to Picwand website and log in.
Open Picwand AI Line Art Generator and create an account to prepare for the conversion.

Step 2: Import your image.
You can click Upload a Photo or drag the image into it.

Step 3: Select the line art filter.
You will find Line Art here. Tap it to generate your line drawing.

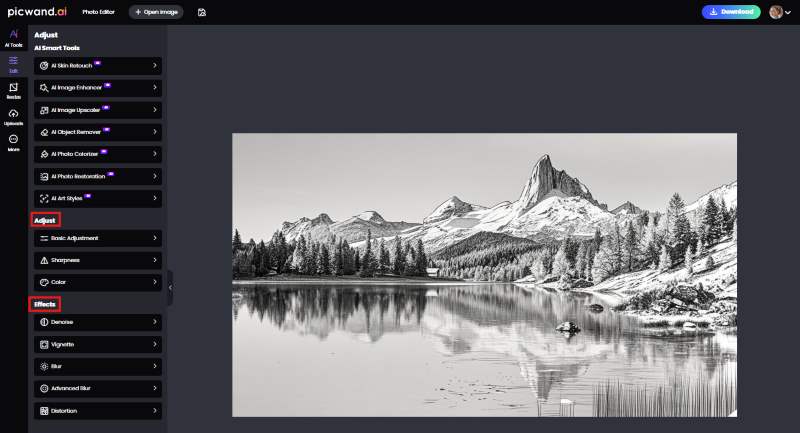
Step 4: Make Adjustments.
A well-proportioned picture will be quickly shown. You can refine it further in the Edit section.
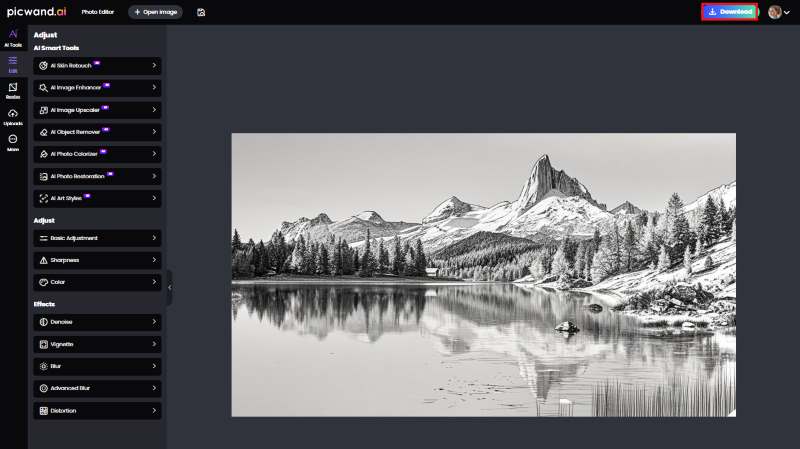
Step 5: Export your line art.
You can Download the illustration when you are satisfied with the effect.
Summary: The line drawing, quickly processed by Picwand, looks perfect. And the operation is easy to follow.
Part 3. A Visible Comparison between Adobe Illustrator and Picwand
Their key features are listed here to help you choose between Adobe Illustrator and Picwand.
| Operating difficulty | Output accuracy | Platforms | Processing time | Usage scenario | Targeted groups | |
| Adobe Illustrator | High | Excellent | Win/macOS | Few minutes | Product line sketches; engineering drawings | Designers |
| Picwand | Low | Averaged | iOS/Android/Web | 5 ~ 30 seconds | Illustration for contents on social media; artistic drafts | Beginners |
Part 4. FAQs
How to make a vector line art with Illustrator?
You can follow the automatic tracing method in Adobe Illustrator to vectorize an image. It is allowed only after the drawing is generated.
What file formats do Adobe Illustrator support?
You can import JPEG, PNG, TIFF, PSD, GIF, BMP, and SVG files into the software. The processed image can be exported in AI, EPS, SVG, PDF, PNG, or JPEG format.
Conclusion
There are two primary methods for converting images into line art using Adobe Illustrator: image tracing and manual drawing. The former presents an immediate result but a fixed style, while the latter supports the personal design, which takes much time. Additionally, Picwand, another AI image editor, is introduced here. It achieves a good balance between quick processing and a pleasant effect.
AI Picwand - Anyone Can be A Magician
Get Started for Free