Take a Passport Photo on Phones: Resizing, Edition, and More
Smartphones with advanced cameras and built-in photo editing capabilities have revolutionized how we capture professional-level pictures, including passport photos. Now, you can easily click a professional-level passport photo straight from the comfort of your smartphone without the need to visit an expert's studio. However, it can be difficult to follow official government protocol for passport photos if you're unfamiliar with the specific details. This step-by-step tutorial will walk you through taking the compliance photo by smartphone.
From choosing suitable light and background to framing the photograph in the right manner, we'll make sure every aspect meets specified standards. Whether you're a seasoned traveler or making arrangements for your first international sojourn, these expert tips will make it easy and hassle-free for you to create a professional-level passport photo. Adopt this easy method and enjoy the convenient solution to your documentation. Let this tutorial handle the planning for you now.
You May Also Like:
Contents:
Part 1. How to Take a Passport Photo with Your Phone
Now, let's look at the detailed steps for taking a passport photo with your phone, which will cover the preparation and adjustments.
Step 1. Prepare for the Shot (Background, Lighting, Dress Code)
Following are the necessary steps to make it conforming and seamless:
• Background
Choose a plain, neutral background such as an off-white or white wall. This avoids distracting designs or shadows that can interfere with the photo's needs. However, if you can't find a perfect place, you can use a background changer app to change the background after the shooting.
• Lighting
Use soft, natural light whenever possible by positioning yourself by the window. If that's impossible, use soft, diffused light inside to prevent harsh shadows. Position the light to the front to achieve an even light on the face.
• Dress Code
Select dark, hard objects that contrast with your background. Do not use excessive patterns or shiny objects, and remove accessories like hats and glasses that will cause facial expressions to be obstructed.
• Tips on Preparation
Ensure that your phone lens is clean, and set the camera to the highest resolution to capture a sharp and clear photograph.
Step 2. Adjust Phone Settings for Best Quality
When making an effort to achieve an official-standard passport photo, you must get the settings on your phone perfect. Here are the tips to follow to get the settings perfect for the ideal photo:
• High Resolution
Make sure you have the camera set to use the high-resolution settings with at least 600 dpi. This will ensure the details remain crisp and the image stays clear even when cropped.
• Disable Filters and Enhancements
Disable HDR and beauty modes. Disable the filters. Leaving the modes mentioned disabled preserves the photo's natural look and makes it look like you, which is required for passport photos.
• Manual Controls
Use manual exposure and focus. Manually adjusting them can result in even light and crisp details with less shadowed and burnt-out regions.
• Enable Gridlines
Activated Enable grid lines to align your photo. It will position the face in the center and correct the composition according to the standards for the passport. Adjusting these settings will prepare you to snap a compliant and professional-quality passport photo.
Step 3. Position Yourself & Capture the Photo
Correct positioning is vital when taking a conforming passport photo with your phone.
Stand directly facing the camera with your eyes looking directly at the lens. Direct eye contact aligns with official standards and encourages overall natural and neutral facial expressions, making your profile picture in good spirits.
Second, position the head and shoulders into the suitable frame. Ensure the face is in the middle with space for cropping without taking loose or tight shots. Standing in a suitable frame will assist in reaching the passport sizes.
Lastly, capture several shots to facilitate slight differences in light or position. Shooting at different angles gives you a better chance of having a photo that satisfies all the standards. Ensuring each detail is thoroughly recorded prevents potential rejections and spares you time when planning to travel. Experiment with small differences, such as minor head tilts with eyes directly focused, to capture that ideal photo, making it remarkably outstanding. If you, nevertheless, didn't find a good place to shoot, you can use some photo editor tools to help you make your photo's background white.
Part 2. How to Edit a Passport Photo on Your Phone
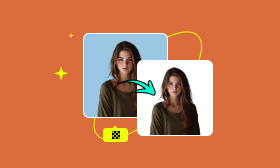
After taking the shot, let's see how you perfect your photo, making it impressive.Editing your passport photo on your phone is a handy and effective way to make sure every detail meets the official requirements. With Picwand AI Photo Editor, transforming a simple snapshot into a professional-quality passport photo is easier than ever. This mobile app features an intuitive interface powered by advanced artificial intelligence, which helps you crop, adjust brightness and contrast, and check that your photo's background is uniform and compliant.
Picwand AI's specialized tools automatically align your image to the required dimensions and minimize minor imperfections, all while keeping a natural look. Plus, the app includes straightforward tutorials and presets specifically for passport photos. It only needs a few clicks to work. The steps are provided below.
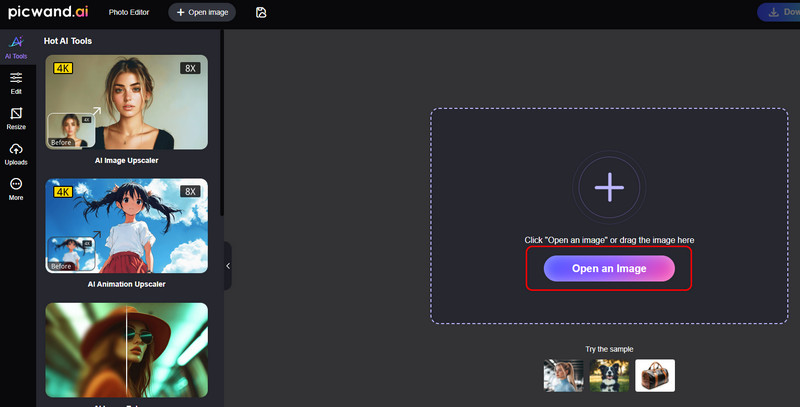
Step 1. Choose an image to upload.
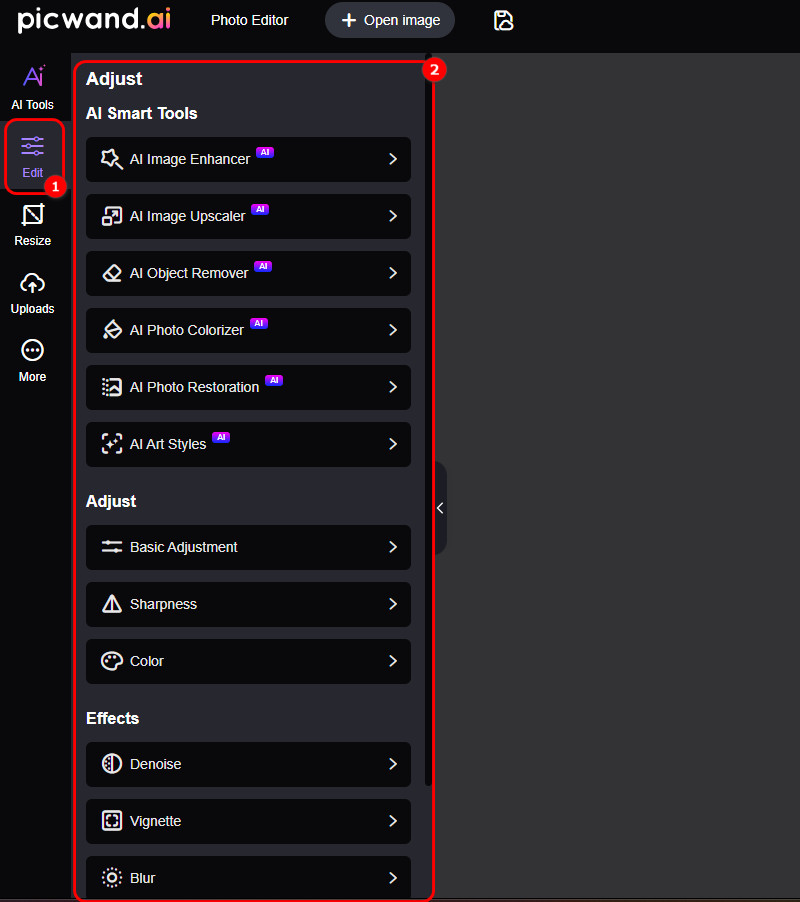
Step 2. Select the Edit option, and you can use whichever tools you like.
Part 3. FAQs on Taking a Passport Photo with Your Phone
What are the official passport photo requirements?
It depends on the country you are in. There are numerous countries worldwide, and so are passport image requirements. Thus, we can only show you some common standards: Plain white or light background, neutral expression, no shadows, correct size (e.g., 2x2 inches for the U.S.), and high resolution.
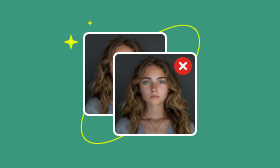
Can I wear glasses or makeup in a passport photo?
No, most countries have strict rules about the wearing of a passport. Thus, glasses (unless for medical reasons) and makeup are often not allowed. Because those can cover your facial features, making recognition more difficult. So, you should avoid anything that alters your facial features significantly.
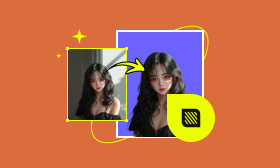
How do I remove the background from my passport photo?
You can use an AI-powered tool like Picwand AI Photo Cutout to automatically remove the background and replace it with a passport-compliant white or light color.
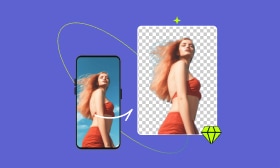
What's the best passport photo app on mobile?
Picwand AI Photo Editor is a great choice for Android and iOS, as it offers automatic background removal, resizing, and formatting to ensure your passport photo meets official standards.
Conclusion
In this post, we have shown you the solution to take a passport photo on phones from preparation to the photo edition. During shooting, you should not wear things that cover your facial expressions too much. When editing, you can count on some photo editors like Picwand AI Photo Editor to help you perfect your image.
AI Picwand - Anyone Can be A Magician
Get Started for Free