Fade Edges GIMP Like a Pro: Simple Guide and Its Alternative
Smooth blended edges can mean the difference between finishing an edit and looking natural or amateur, so if you’re working with old, damaged photos or simply want to add a soft, artistic touch, learn how to fade edges GIMP. The article will take you why you need fade edges, how you can use faded edges in GIMP, and tutorials to follow to do so. We will also provide another tool you can access that will help you with the task quickly and effectively. This mini-course is all you need if you want to get trimmed out with clean edges.
Contents:
Part 1. Why Need Fade Edges
Old photos are often old in that their edges are faded, torn, or wrinkled, giving them a patchy and unpolished look. GIMP fade-out edges effect achieves this effect for the restoration part of such photos. This technique blurs the sharp edges, so there’s a natural transition between the area worked on and the untouched part of the photo. Faded edges are crucial for a more polished and professional look.
Fading edges might be necessary for the following reasons:
• Repairing Old Photos: Old photographs often have torn, wrinkled, or otherwise damaged edges. You can use Path fading to make the corrections more natural, and it will cause a smoother transition between the restoration and the initial image.
• Smooth Transition: A hard cut of a subject from its background may sometimes sound unnatural. Softening the edges is an easy transition, whether you prepare a photo for blending into another backdrop or a collage.
• Increased subject focus: Fading edges can help accentuate the image's subject by gently blurring any distracting elements along the edges.
• Add Some Artistic Flair: Some designers use faded edges, including dreamy or retro-style edits, for aesthetic purposes. This works great for posters, invitations, and social media graphics.
• Better Integration in Layouts: Hard-edged images in a website, presentation, or print material may not feel right. A faded edge makes the photo feel more natural and blends into the background more professionally.
Part 2. How to Use GIMP to Fade Edges
In GIMP, there are a few ways to fade edges which is a very easy edit that provides a nice smooth edge to images. This method produces some great natural blending effects on the edges and is great for restoring old photos or giving your designs a crispy, sharp look with a soft, artistic edge. Here is a complete tutorial on how to fade edges in GIMP.
Steps to Fade Edges in GIMP
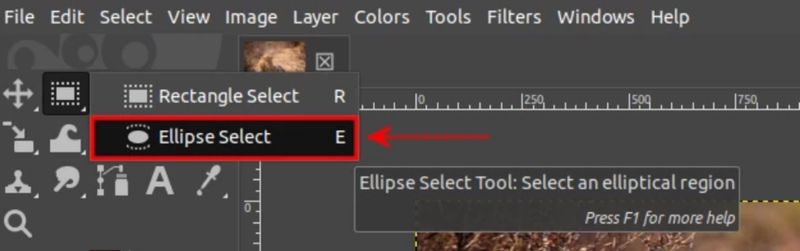
Step 1. Open GIMP and load the image you wish to modify.

Step 2. In the toolbox, choose the Elliptical or Rectangular Selection Tool and draw over the section of the image you wish to keep.
Step 3. Go to Select, then click the Feather and set the feather radius.
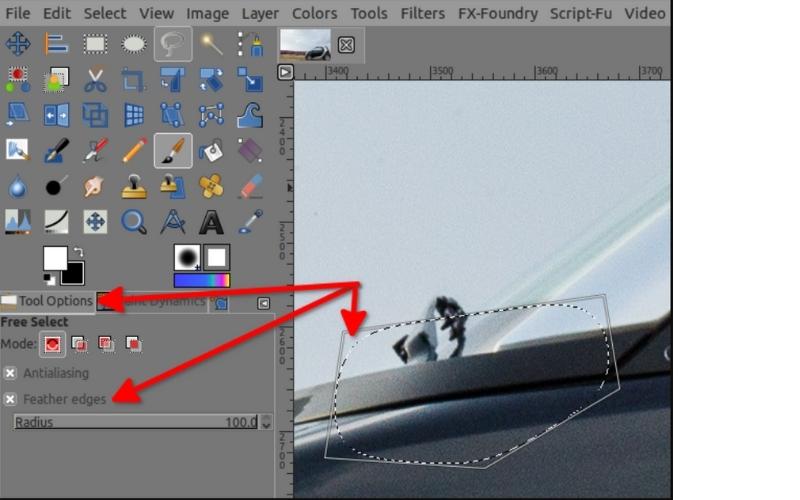
Step 4. Select Click, then Invert to select the edges rather than the subject.
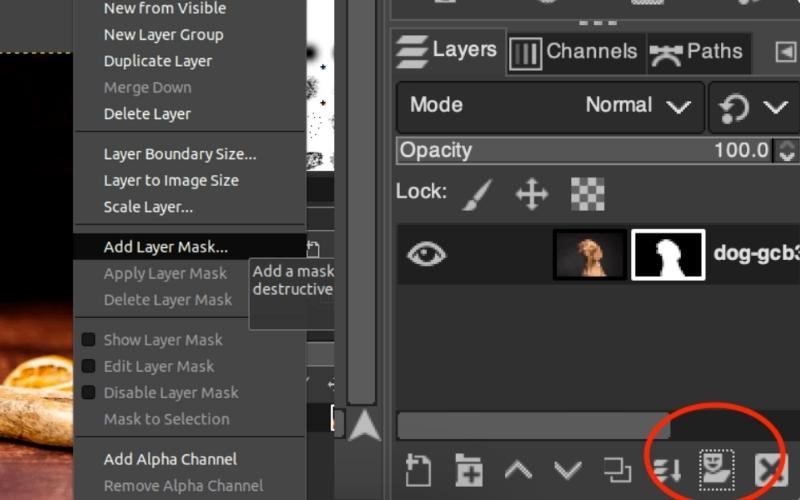
Step 5. In the Layers panel, right-click the image layer and choose Add Layer Mask. Change the setting to Selection to apply the faded effect.
Step 6. You then reduce the opacity, blur, or feather for a more natural look. When happy, go to File and Export As and save the edited image you need.
GIMP for fading edges is an amazing tool to have, simply because it helps produce a soft finish of the edges, a gradual transition into the background of any image that is useful for photo restoration and even artistic edits. It is a simple process, though tuning the fade effect will likely require some trial and error.
Pros of Fading Edges With GIMP
• No cost to use, making it an accessible tool for everyone.
• Allows precise control over feathering and opacity for smooth transitions.
• Uses layer masks to fade edges without altering the original image.
• Ideal for logos, cutouts, and overlays.
• Helps blend repaired areas seamlessly in old or damaged photos.
Cons of Fading Edges With GIMP
• It can be a long process for some beginners.
• You may have to do some manual tuning for an ideal fade.
• It can be difficult to get them steady enough.
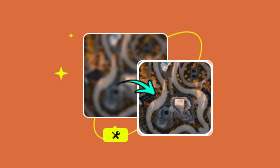
Part 3. Simple Tool to Fade Edges with Picwand AI Photo Restoration
If you find that GIMP fade edges process is a little bit more complex or so time-consuming, Picwand AI Photo Restoration is a quick and easier alternative to achieve a similar effect. This AI tool adds sharpness to your photos and does auto-enhance and edge fading, which is good for retro photo restorations, blending backgrounds, or artfully feathering edges. It gives you a clean, faded edge in a couple of clicks and without specialized editing knowledge.
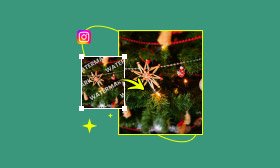
How to Quickly Fade Edges with Picwand AI Image Restoration
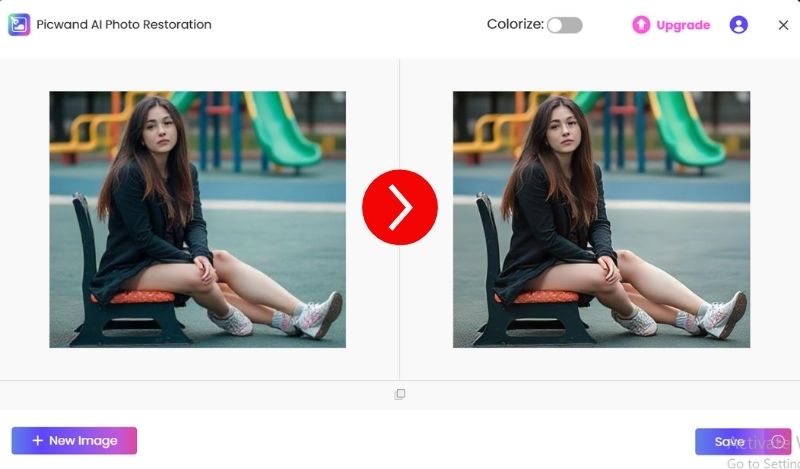
Step 1. Open the Picwand AI Photo Restoration tool in a browser. Click Add Your Photo, then choose the photo to fade the edges.

Step 2. Our tool will automatically blend the edges. Take a look at the image to compare the differences.
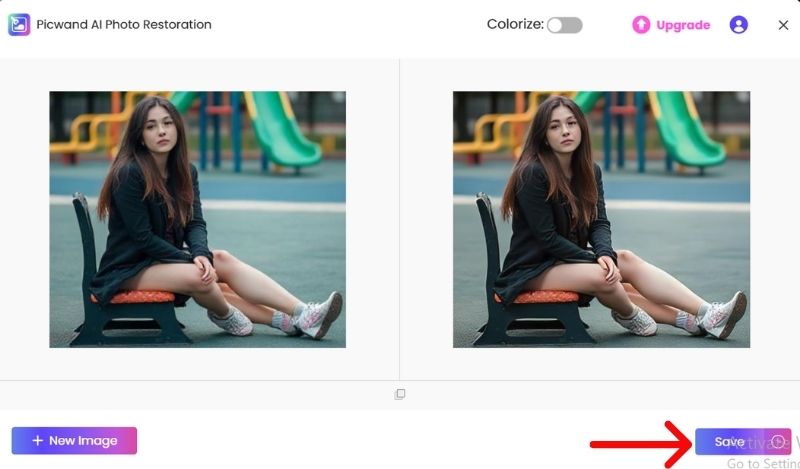
Step 3. Once the fade effect is ready, save the image instead.
You can click a few buttons without diving into complex manual edits, and achieve smooth, crispy, and even edges with the Picwand AI Photo Restoration tool. This intelligent app lets you control your historic image to improve present-day graphics.
Part 4. FAQs about Fade Edges GIMP
How do I fade edges in GIMP?
How To Conquer Fading Edges In GIMP Through Feather Selection Or Layer Mask Using Gradient Fill These techniques allow you to create a seamless blend between the image and the backdrop.
If I fade edges, will it hide some of my images?
No, gradients blur edges but do not eliminate them. You can adjust the fade effect to make a more even appearance.
How To Use GIMP To Fade Only One Edge Of An Image
Yes! Unlike the above steps, which applied the effect to the whole image, you can also use the Rectangle or Ellipse Select Tool to select specific edges, Feather them, or apply a gradient mask.
How do I fade edges more easily without using GIMP?
Yes! If you’re looking for a more efficient approach, tools like Picwand AI Photo Restoration have built-in automatic fade-edge effects that allow you to achieve results in a few clicks!
Why GIMP Fade Effects Too Sharp?
It happens most often if the feathering radius is too low. To achieve a more gradual fade, try using a higher number of feathers or a gradient mask.
Conclusion
Images often require fade at their edges to smooth transitions, restore old photos, or enhance the visual appeal. You can achieve this in GIMP fade-out edges using selection tools, feathering, and layer masks. On one side, GIMP is working as a free and working tool for fading the edges, while on the other hand, it can be tough for beginners. If you're looking for a simpler option, Picwand AI Photo Restoration automates the process and makes it quick and easy. No matter how you decide to add fade edges to your images using GIMP or going with an AI-powered tool, mastering this skill will help you produce quality and professionally styled images with sleek and refined output.
AI Picwand - Anyone Can be A Magician
Get Started for Free