Transform Photos into Line Drawings with GIMP
GIMP is a free software to turn pictures into line drawings. And it offers several methods for converting pictures into line-drawing images. Digital transformation and manual adjustments are allowed to be combined here so that you can make the result as perfect as possible. Through these methods, you will get the processed drawings. You can apply them in anime creation, scientific illustration, and graphic design. GIMP also features multi-algorithm edge detection, non-destructive workflows, precise parameter control, and advanced brush systems. This article will guide you in how to convert pictures to line art with GIMP, give pros and cons of each way, and introduce Picwand as an easier and faster alternative.
Contents:
Part 1. Three Methods to Change Images to Line Art with GIMP
There are different approaches for you to do the conversion with GIMP. The processing steps are explained in the following part.
Approach 1: Edge Detection (Most Common)
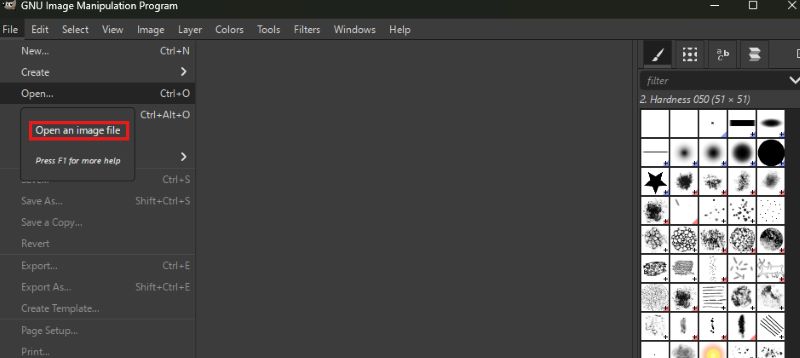
Step 1: Import your picture
Click the File and Open the image.
Step 2: Operation
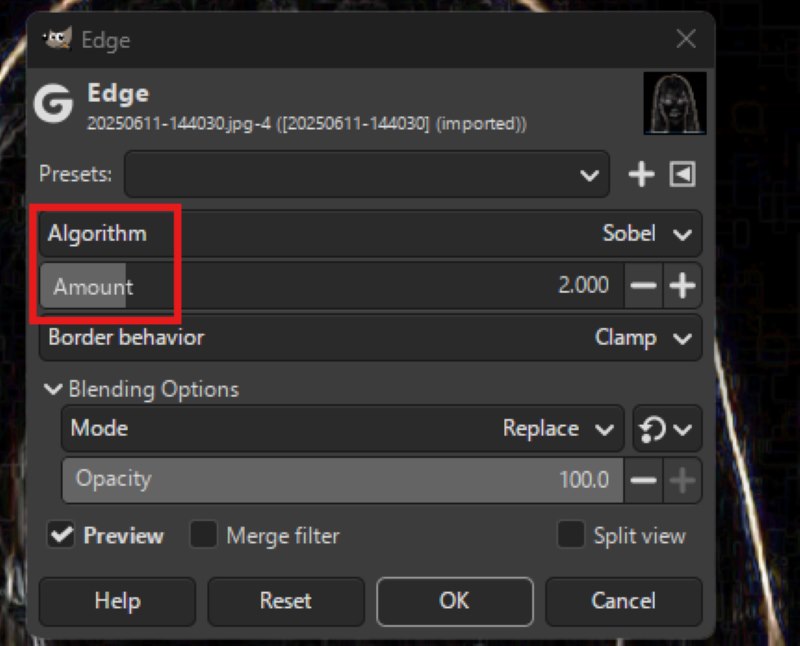
Open Filters and find Edge Detect. Then click Edge and adjust the following parameters to get the satisfying result.
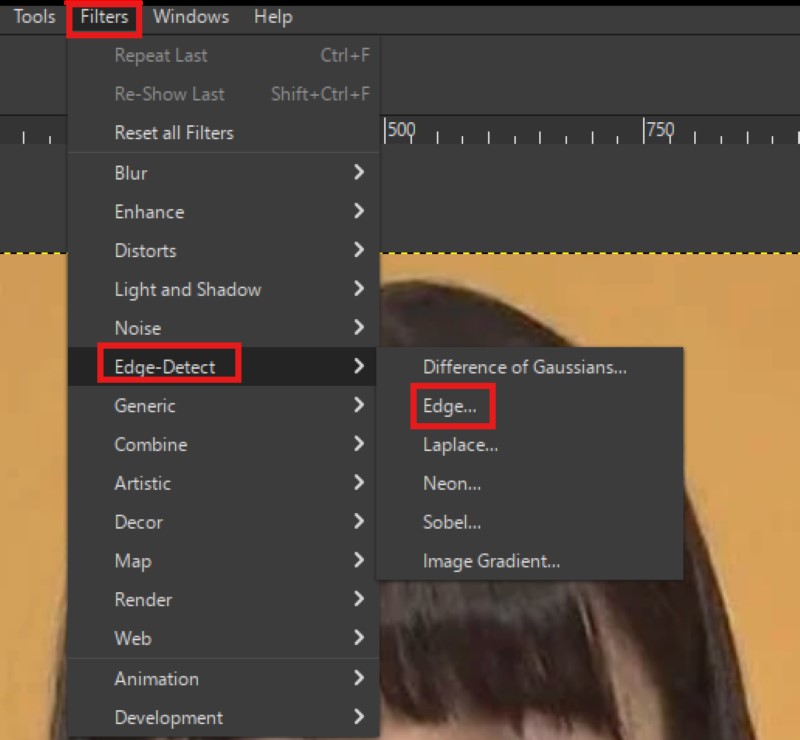
Algorithm Selection - GIMP offers several algorithms. Each algorithm results in different effects.
Line Amounts - More lines mean a more complicated drawing. It is up to you to choose a delicate or simple style.
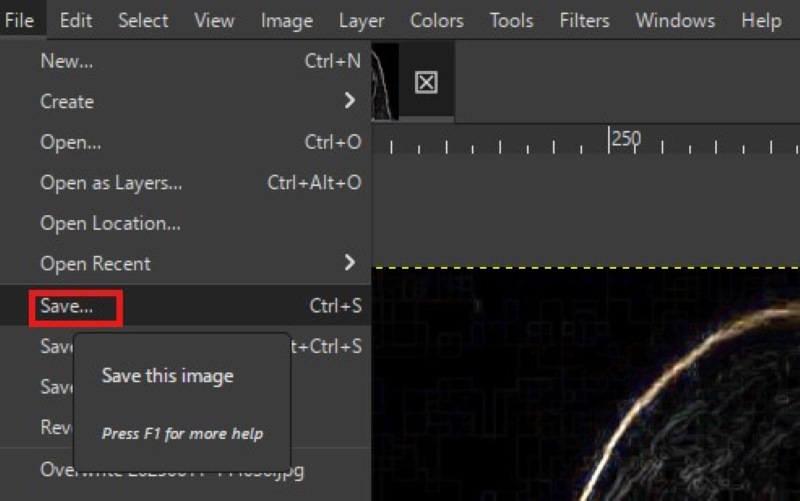
Step 3: Export the line drawing
Click OK to retain your adjustments, then open File to Save your image.
Approach 2: Threshold (Best for High-Contrast Images)
Step 1: Upload your photo
Click Ctrl + O to upload your file.
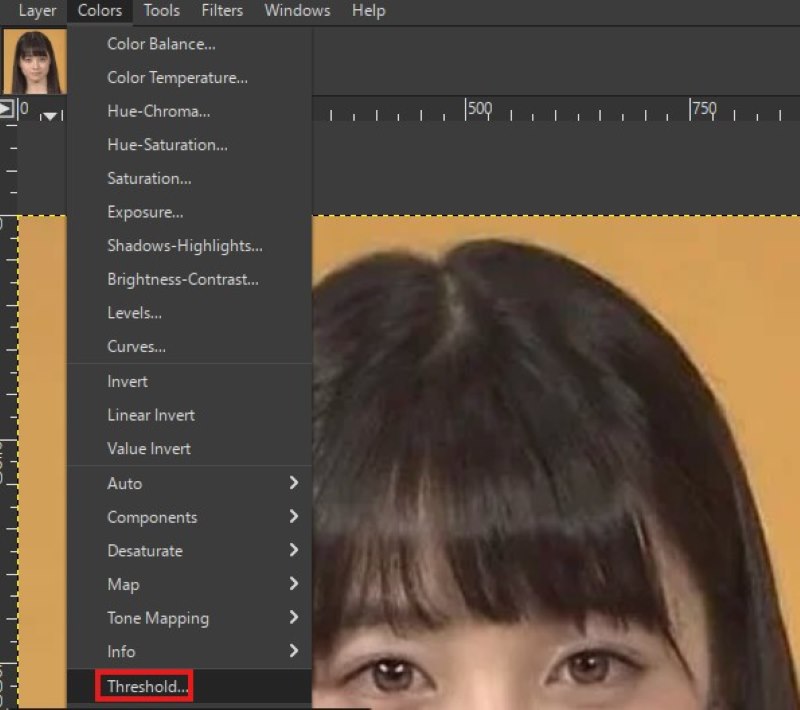
Step 2: Path and details
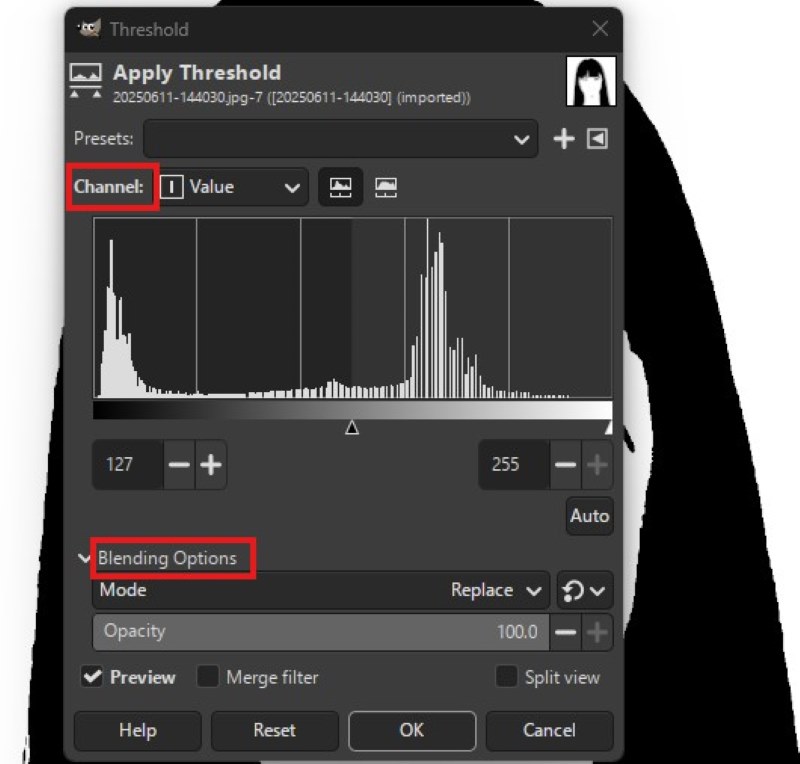
Open Colors and select Threshold. And here are some key parameters.
Channel Selection - Various channels are provided to users. Pick up one that meets your expectations. You can also drag the slider to deepen or weaken the effect.
Blending Options - Here, you can determine the color reduction of the whole picture.
Step 3: Get the line art
Click OK to keep those changes and save the drawing. (Ctrl + S)
Approach 3: Manual Stroke with Path Tools (Art Skills)
Step 1: Upload your images
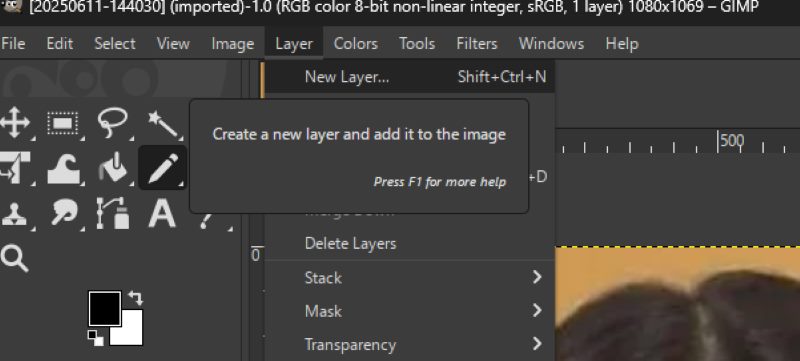
Step 2: Add a new layer
Find Layer to create a new layer and add it to the image.
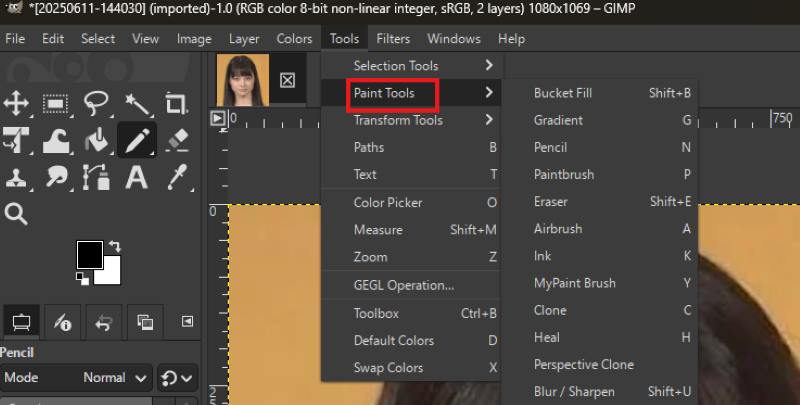
Step 3: Select your tool
Enter Tools and select your Paint Tools. It is suggested to use Pencil or Paintbrush. Then, you can trace key lines on your picture.
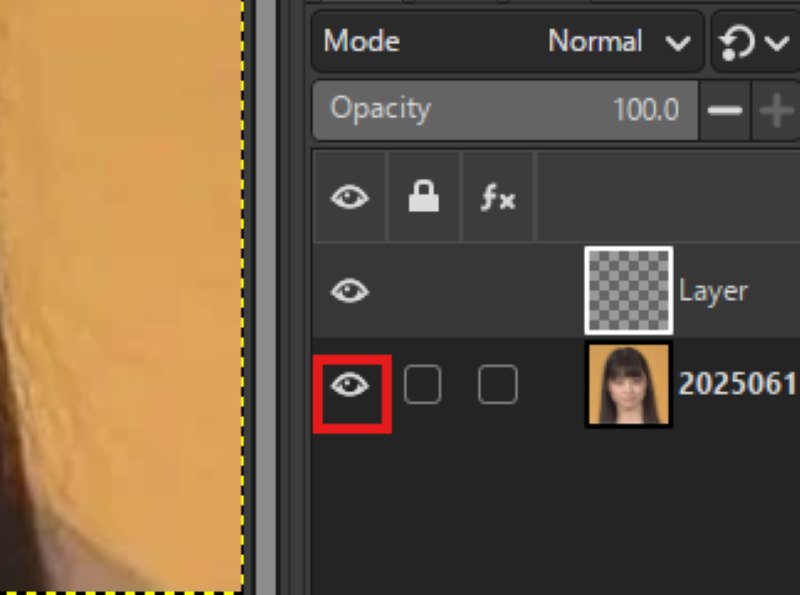
Step 4: Preview your sketch
After finishing the trace, you’d better hide the original image by clicking its eye icon to check the effect of your drawing.
Step 5: Export the line drawing
Click Ctrl and S to save your art.
Pros
- The services of GIMP are free and accessible on many platforms.
- The app supports diversified algorithms and threshold settings, providing users with various styles.
Cons
- High-level skills are required to make efficient adjustments.
- GIMP performs poorly with low-contrast images, failing to keep the original structure and distinguish between similar colors.
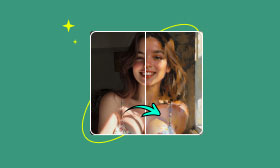
Part 2. How to Turn Pictures into Line Drawings with Picwand
Different from GIMP, the conversion in Picwand is automated by AI. So, the process is greatly simplified. Neither art skills nor algorithm knowledge are needed. If you make line art just for fun, read the following parts, and you will know how to convert photos to line drawings in a few seconds.
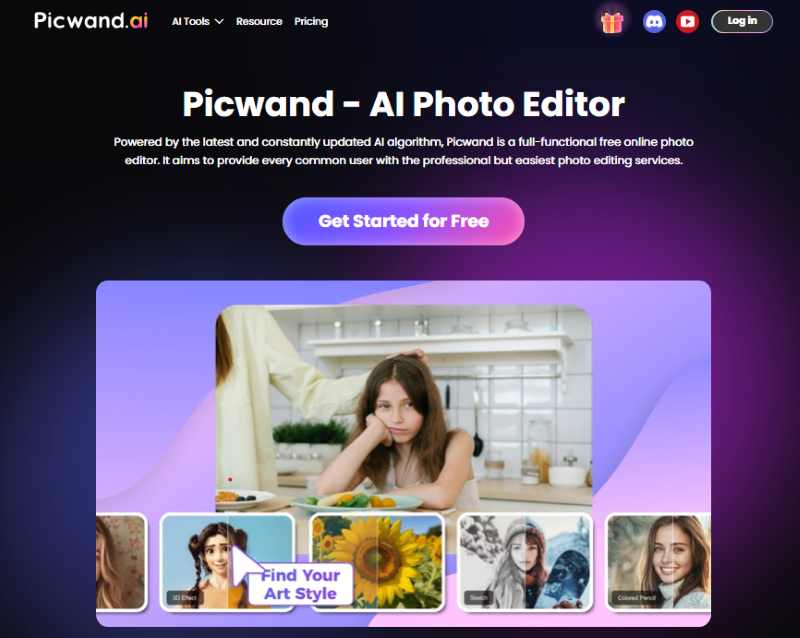
Step 1: Find Picwand’s official site
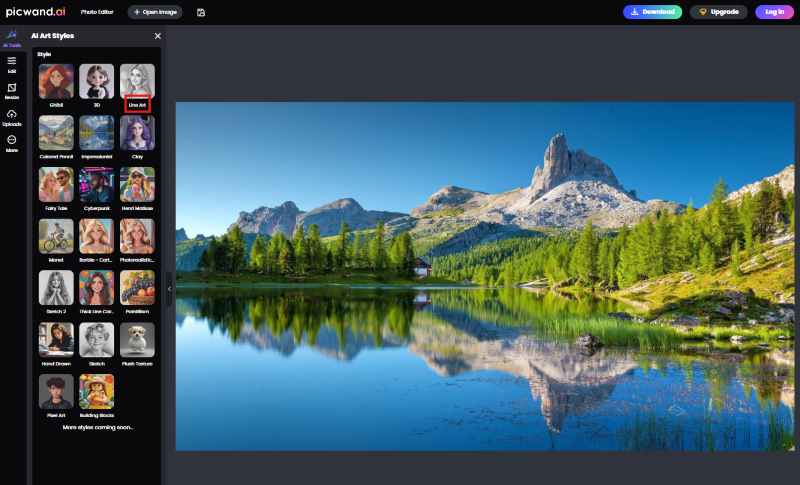
Step 2: Choose line art filter
Select AI Art Style from the AI Tools menu and find the Line art filter.
Step 3: Import and process your image
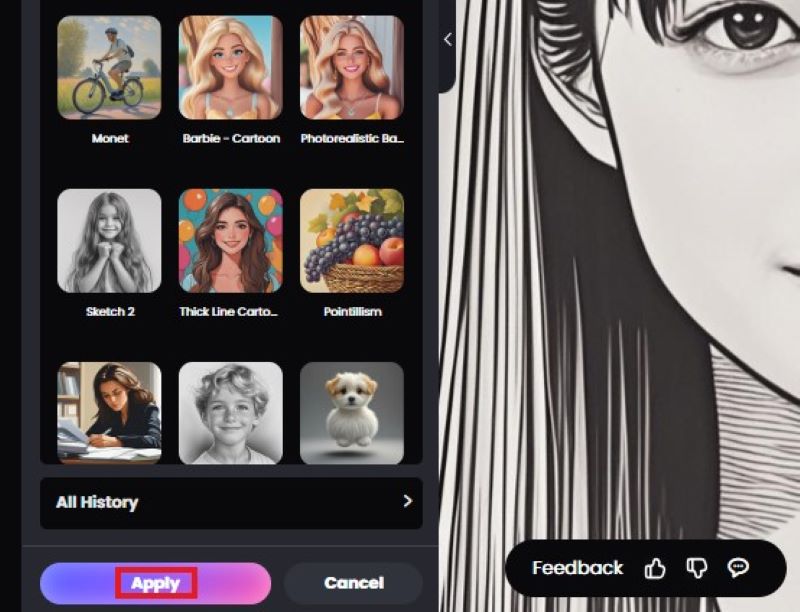
Click Line Art, and both importing and converting will be finished. You can try another line drawing by repeating it. Remember to click the Apply button to retain the effect.
Step 4: Make adjustments
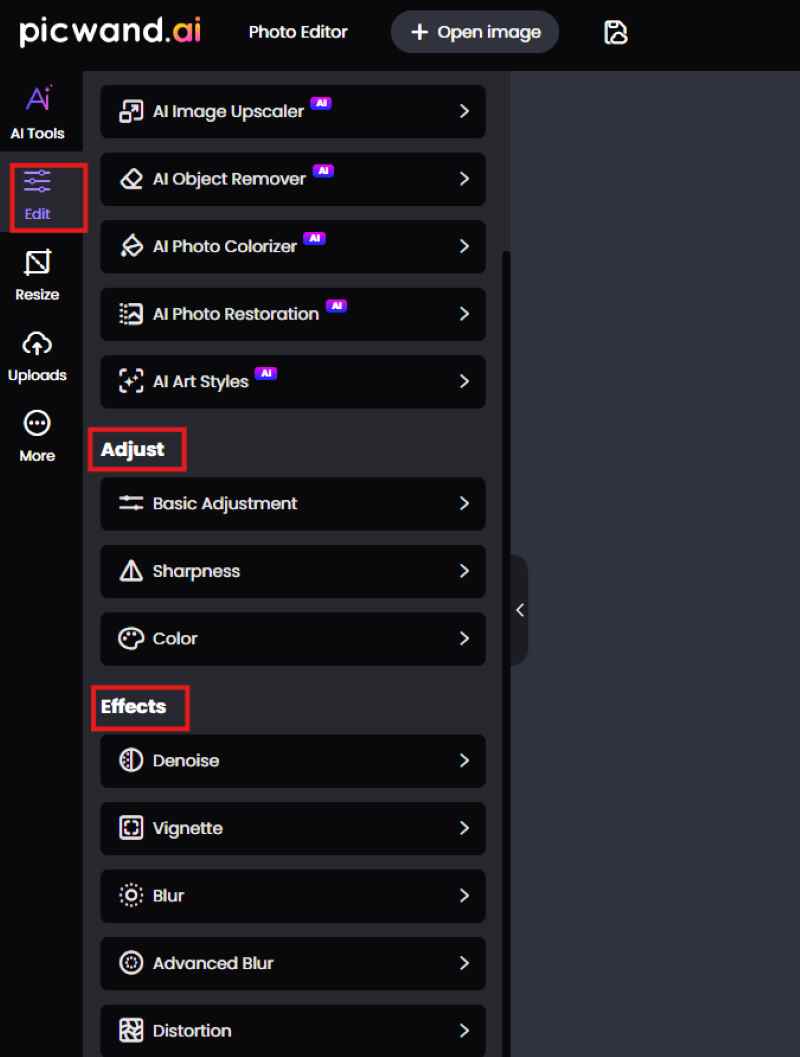
You can change details after clicking the Edit button. Various parameters are provided here. You can also use various tool like AI image upscaler to make your art more perfect.
Step 5: Export the line drawing
Download the image to save your line art.

Pros
- No artistic skill is needed.
- The process is driven by AI technology, and you will get the drawing immediately.
- Its interface is easy to understand and is friendly to beginners.
Cons
- When dealing with complex pictures, AI transformation may lose some lines.
Part 3. Visible Comparison between GIMP and Picwand
The key features of the two apps are listed here. You can quickly pick up the right one after scanning this chart.
Part 4. FAQs
Which one is more friendly to beginners?
If you want to generate a line art easily, Picwand is the best software for you, because it requires neither art skills nor plugins. And you will quickly get a beautiful line drawing.
What should I prepare before processing the picture?
You may need to learn some terms to operate on GIMP, and install scripts or plugins to convert many photos. But on Picwand, you can just import the photo and select the effect.
Conclusion
To convert photos to line drawings, GIMP is suitable for those who have professional foundations and concern about details, like artists or designers. For non-professionals, it is best to choose Picwand. The app shows pretty effects, and you can make adjustments easily.
AI Picwand - Anyone Can be A Magician
Get Started for Free